Replacing People List Content Block
While there is an automated directory to list the People content on your website, the “People List” Content Block offered the ability to put people in a specific order. To replace this functionality, we have created a People pattern.
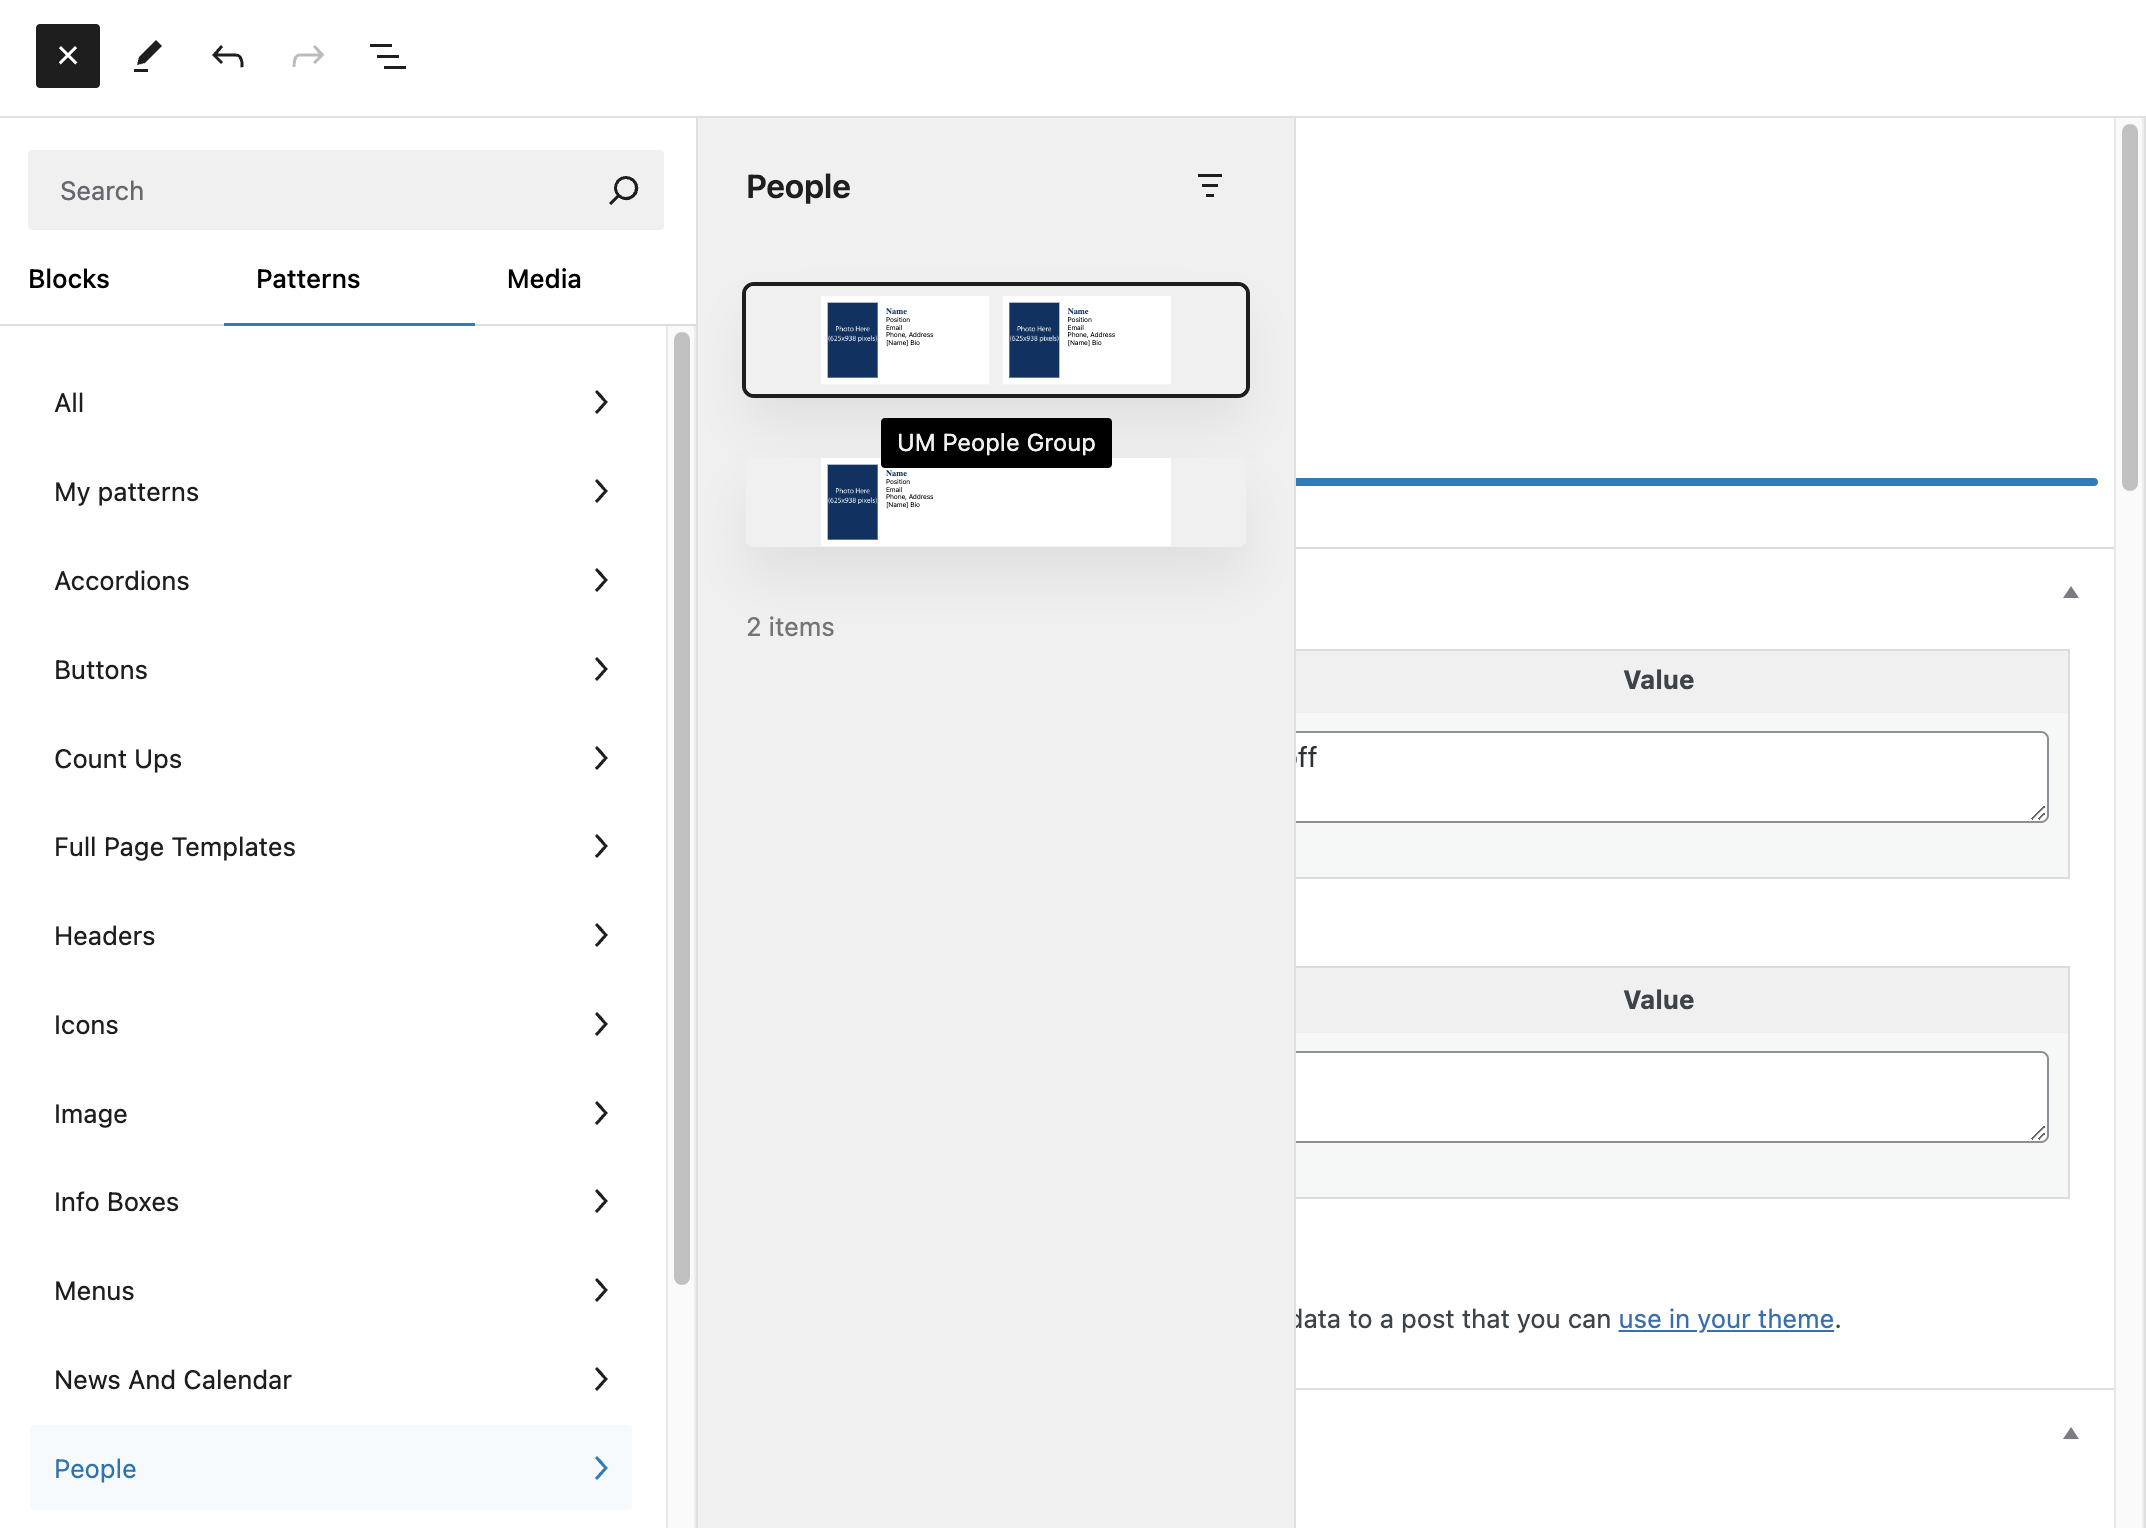
People List as a selection in the Content Blocks page editor:

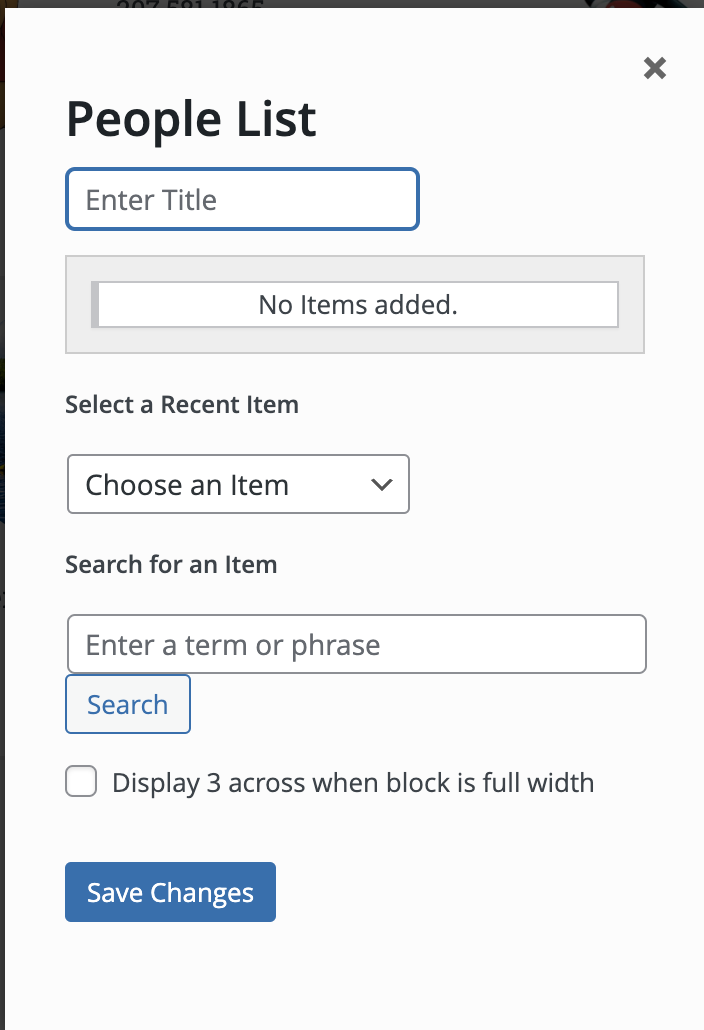
The dialog box for People List:
Replace this block with the People pattern “UM People Group”
- Select the + icon in the upper left corner of the editor. The blue box will change to a black box with an X icon, and the block selection window will open
- Select the “Patterns” heading to display the list of patterns
- Select the “People” option to display the different patterns for listing people
- Select “UM People Group” and it will appear in the editor
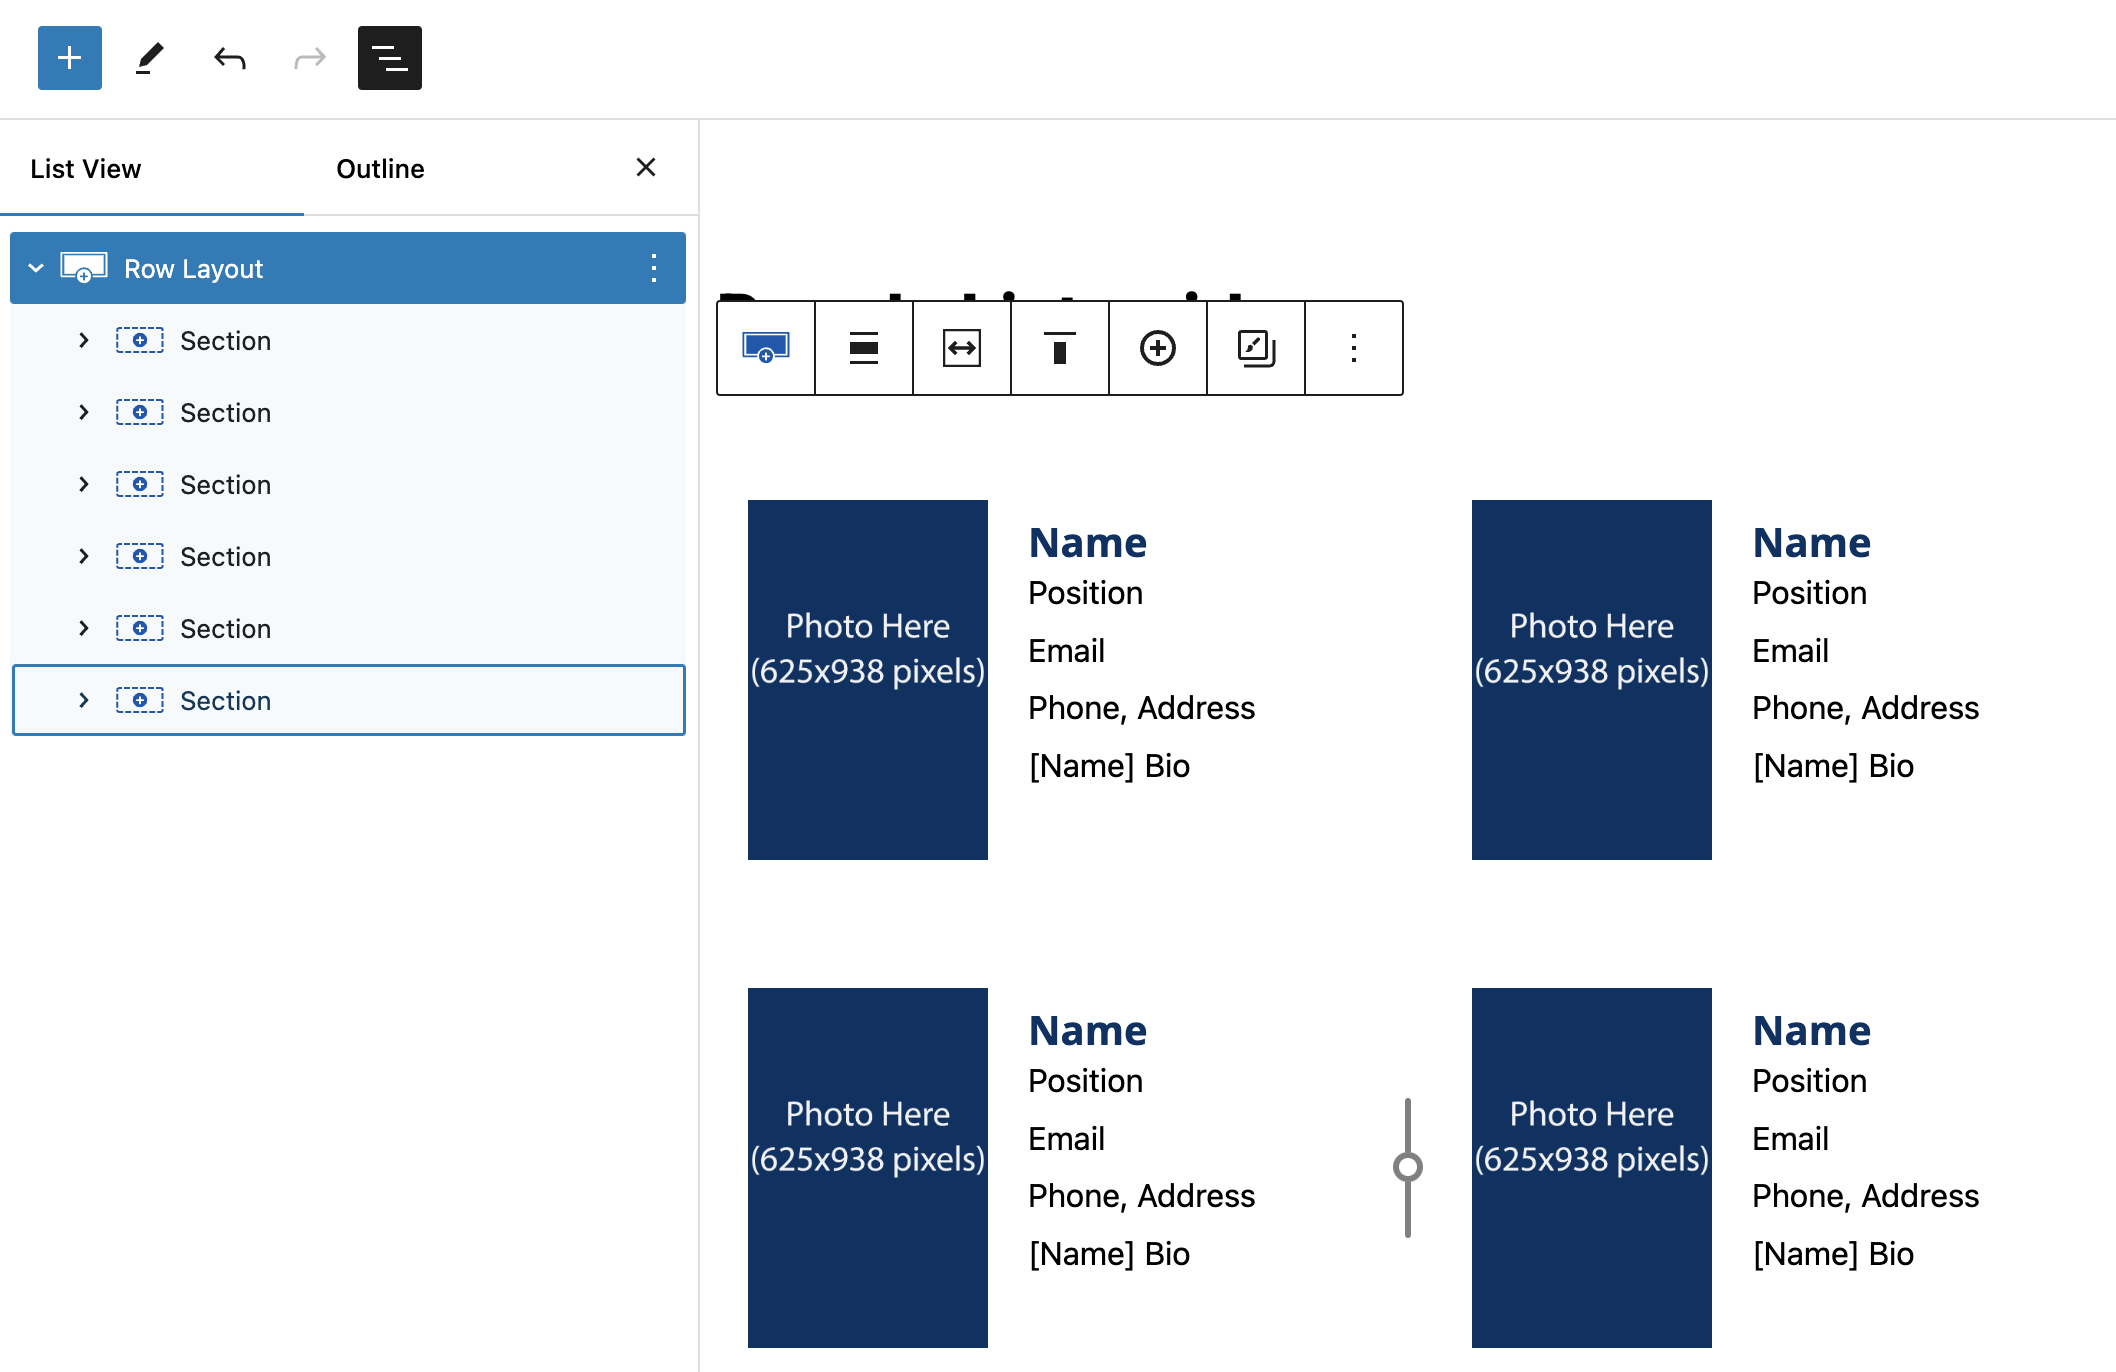
How to increase the number of people listed
The UM People Group will create two placeholders for your people. Increasing the number of people is straightforward.
Select the Document Overview icon (fifth icon in upper left):
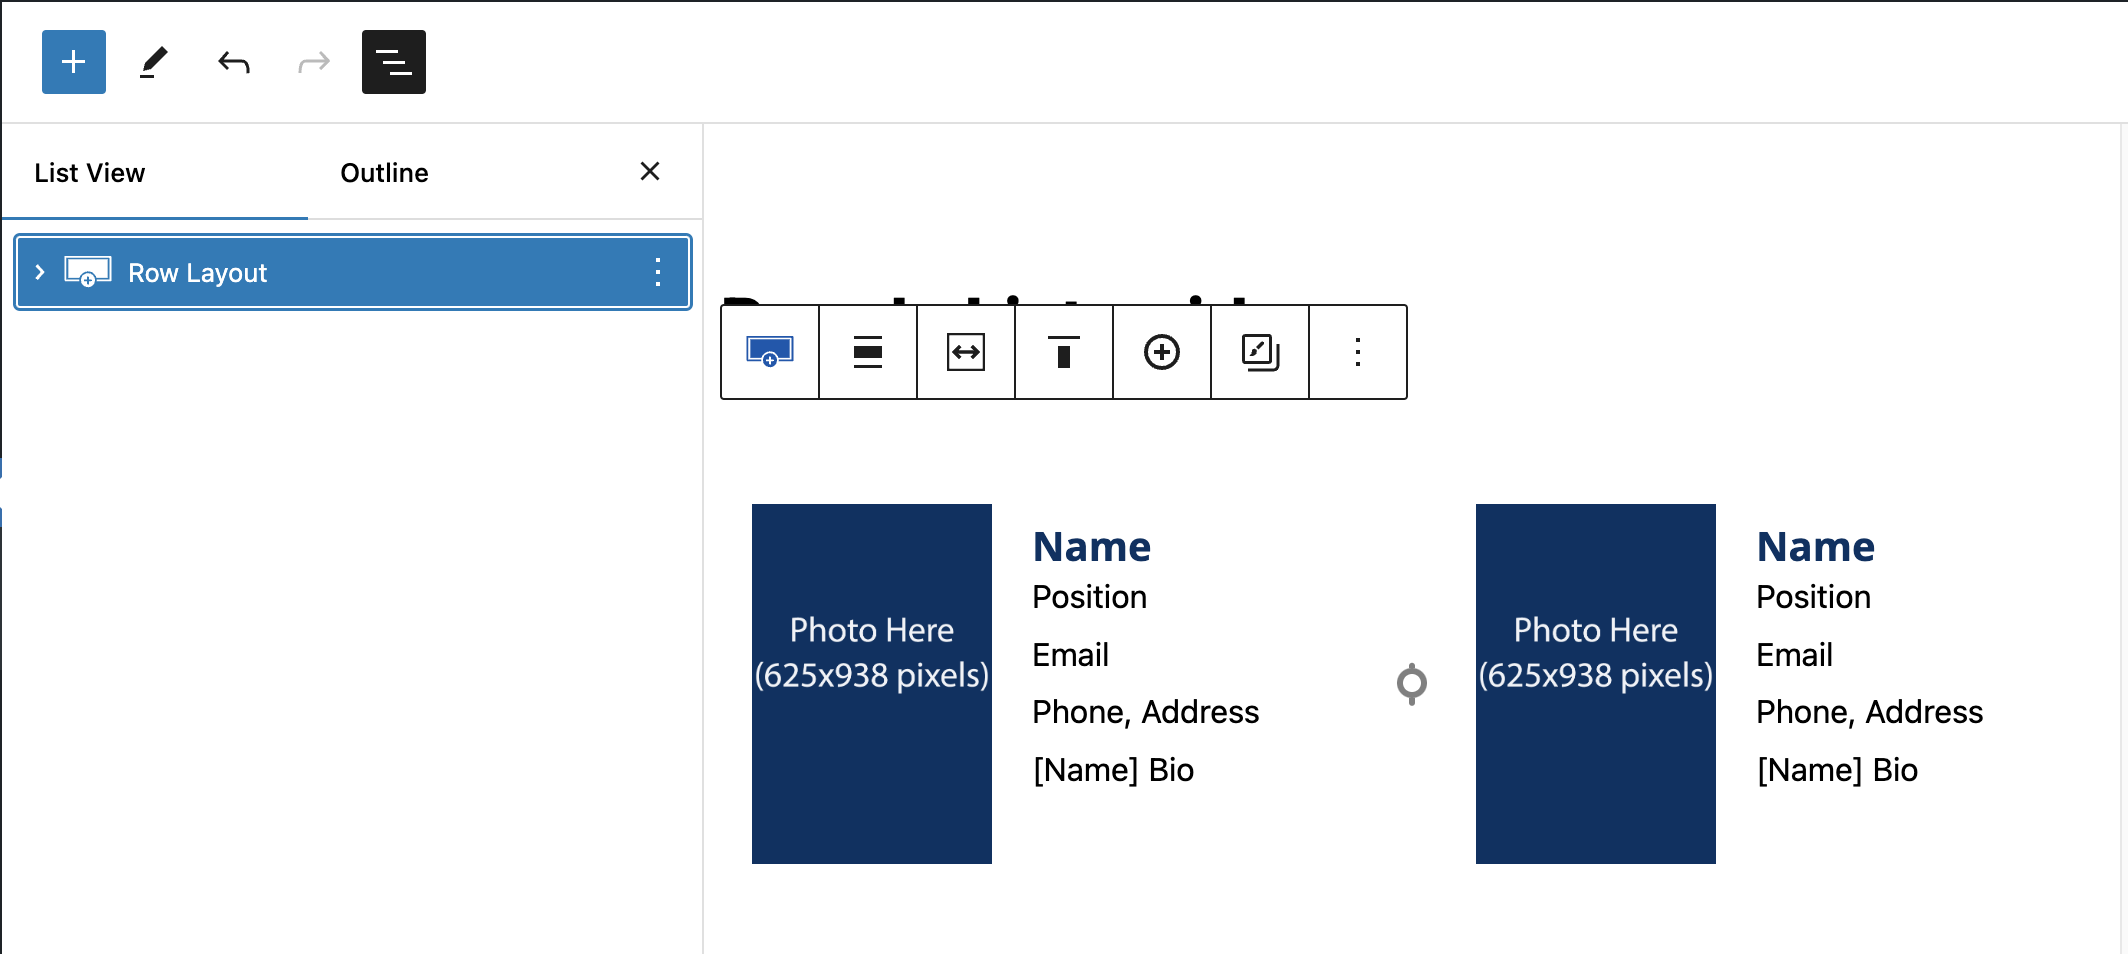
Expand the Row Layout by clicking the > symbol next to it:
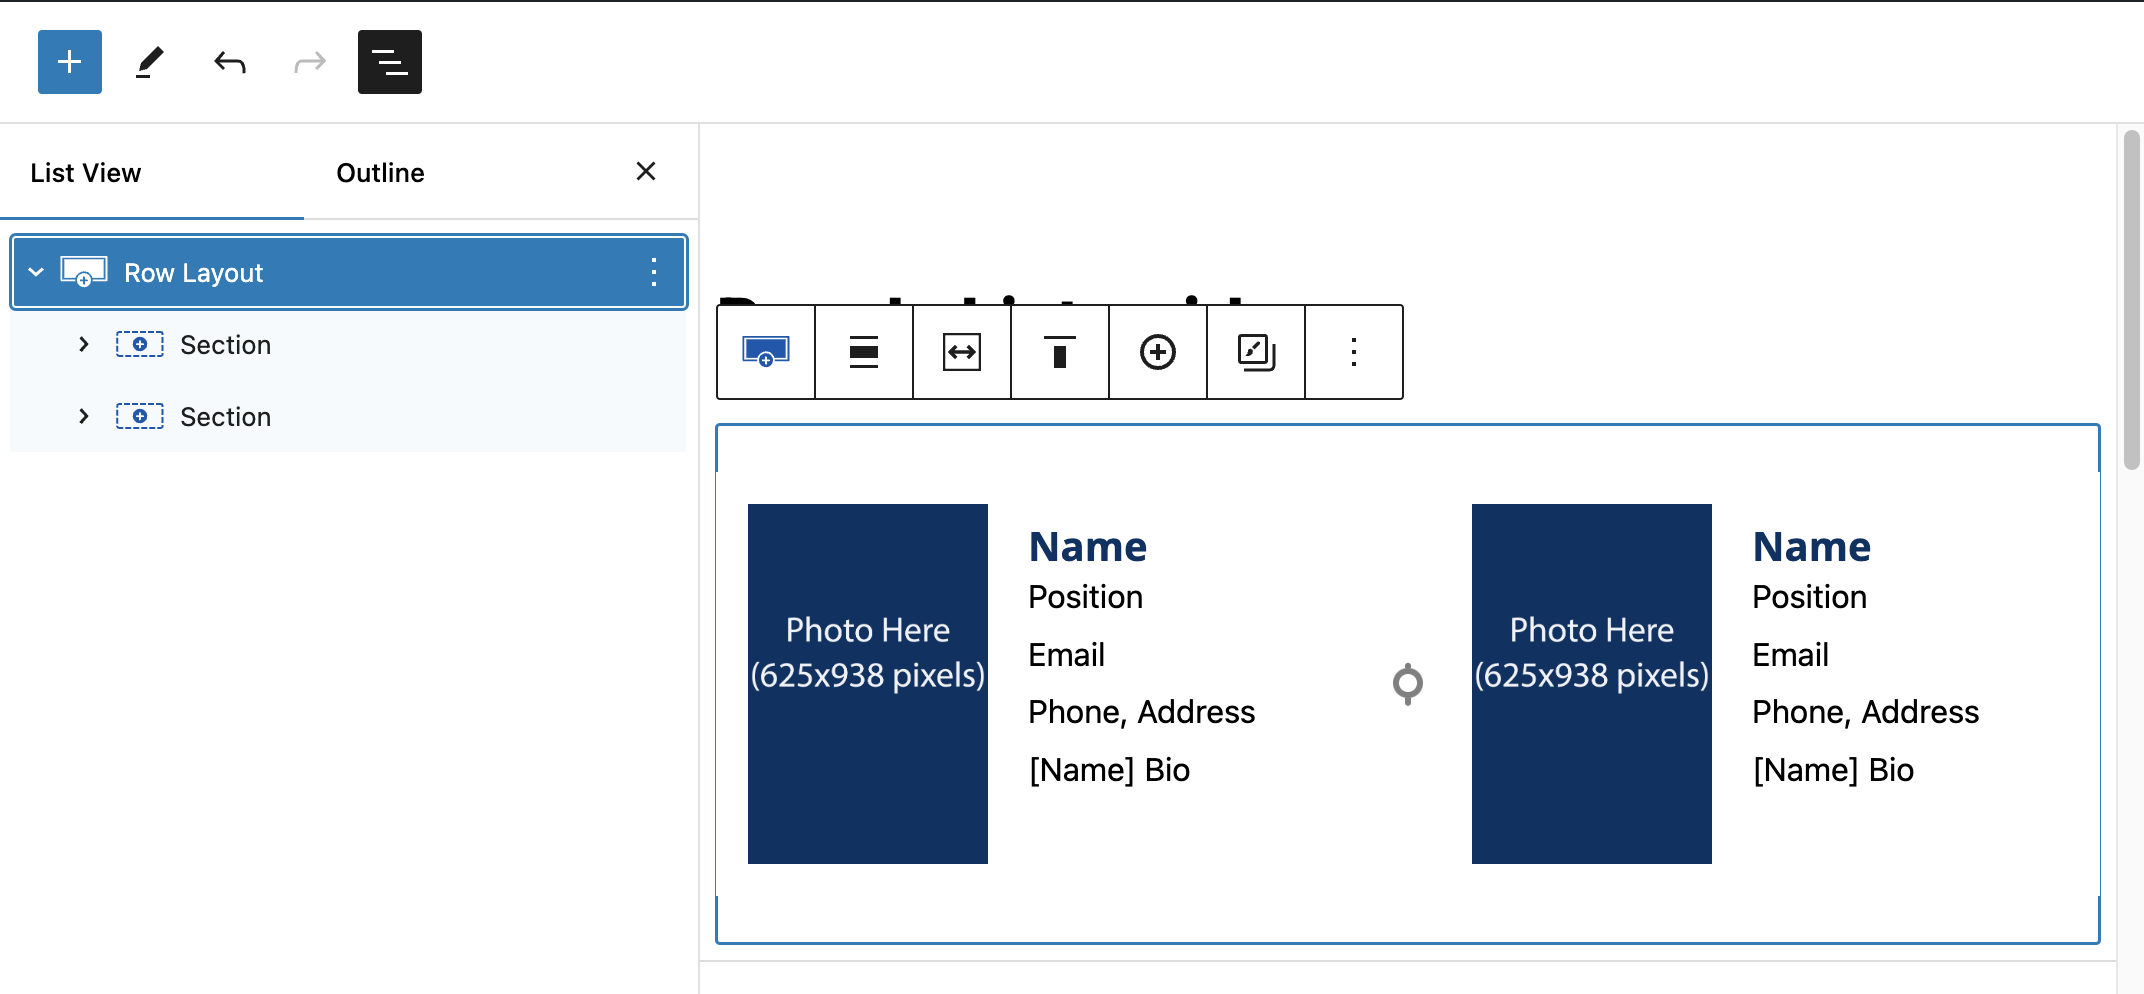
Highlight one of the “Section” items, either by clicking or hovering over with your cursor. A 3-dot “Kabob menu” icon appears to the right of the item. Click that to display a menu of options, and select “Duplicate” to make more copies of the section:

Duplicate the block until you have the number of people blocks you need to replace your People List block:
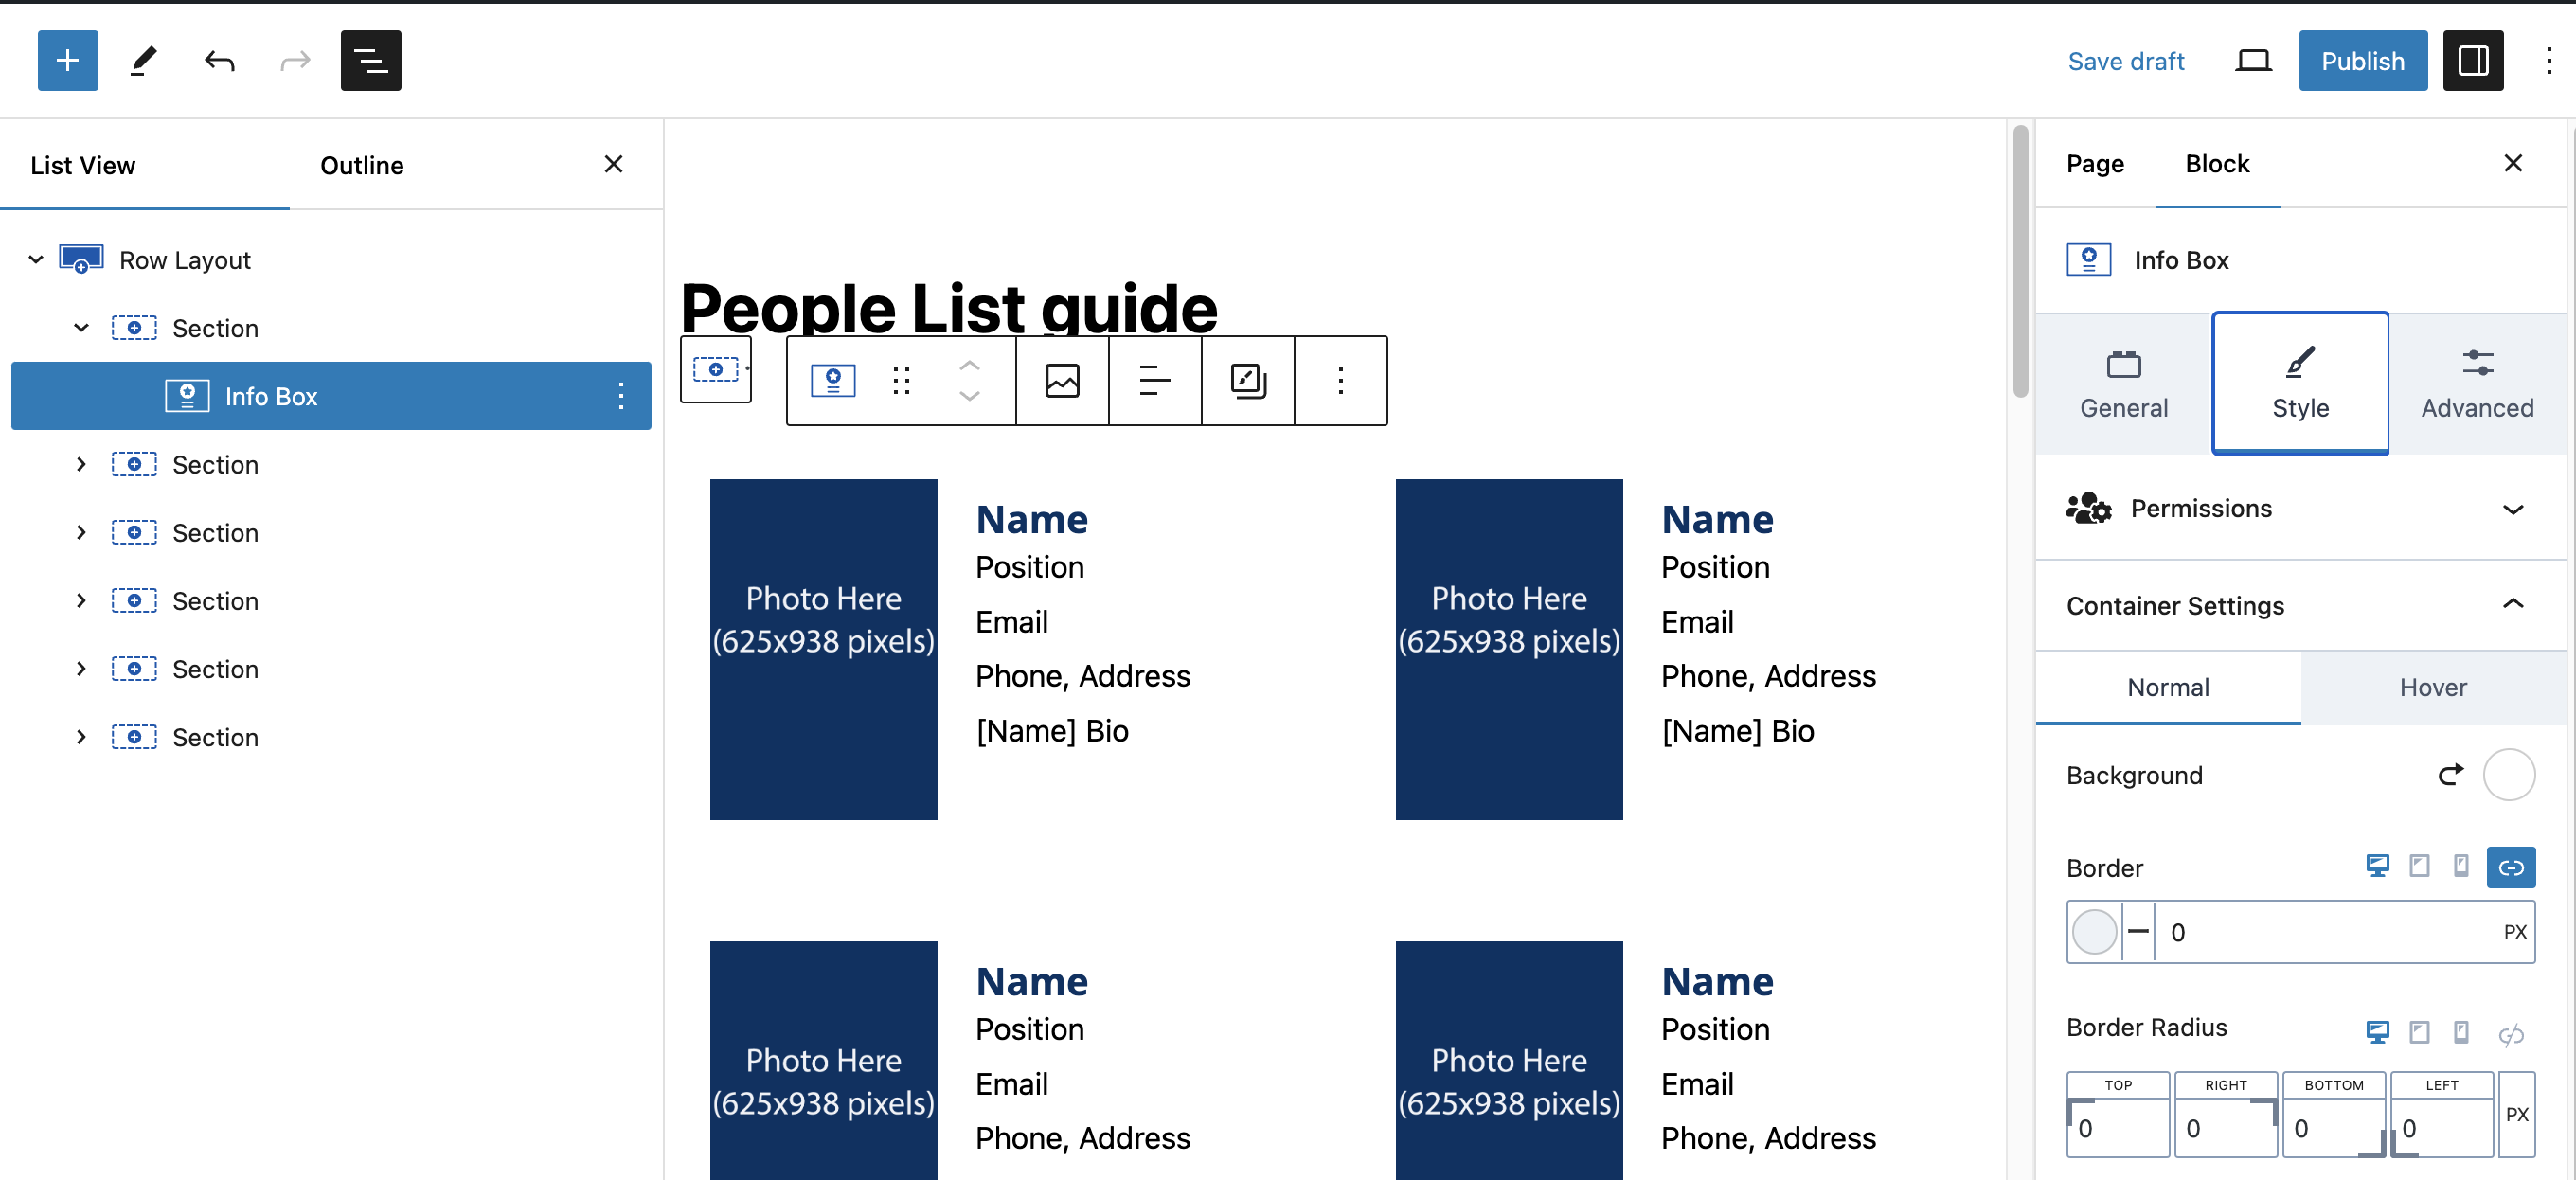
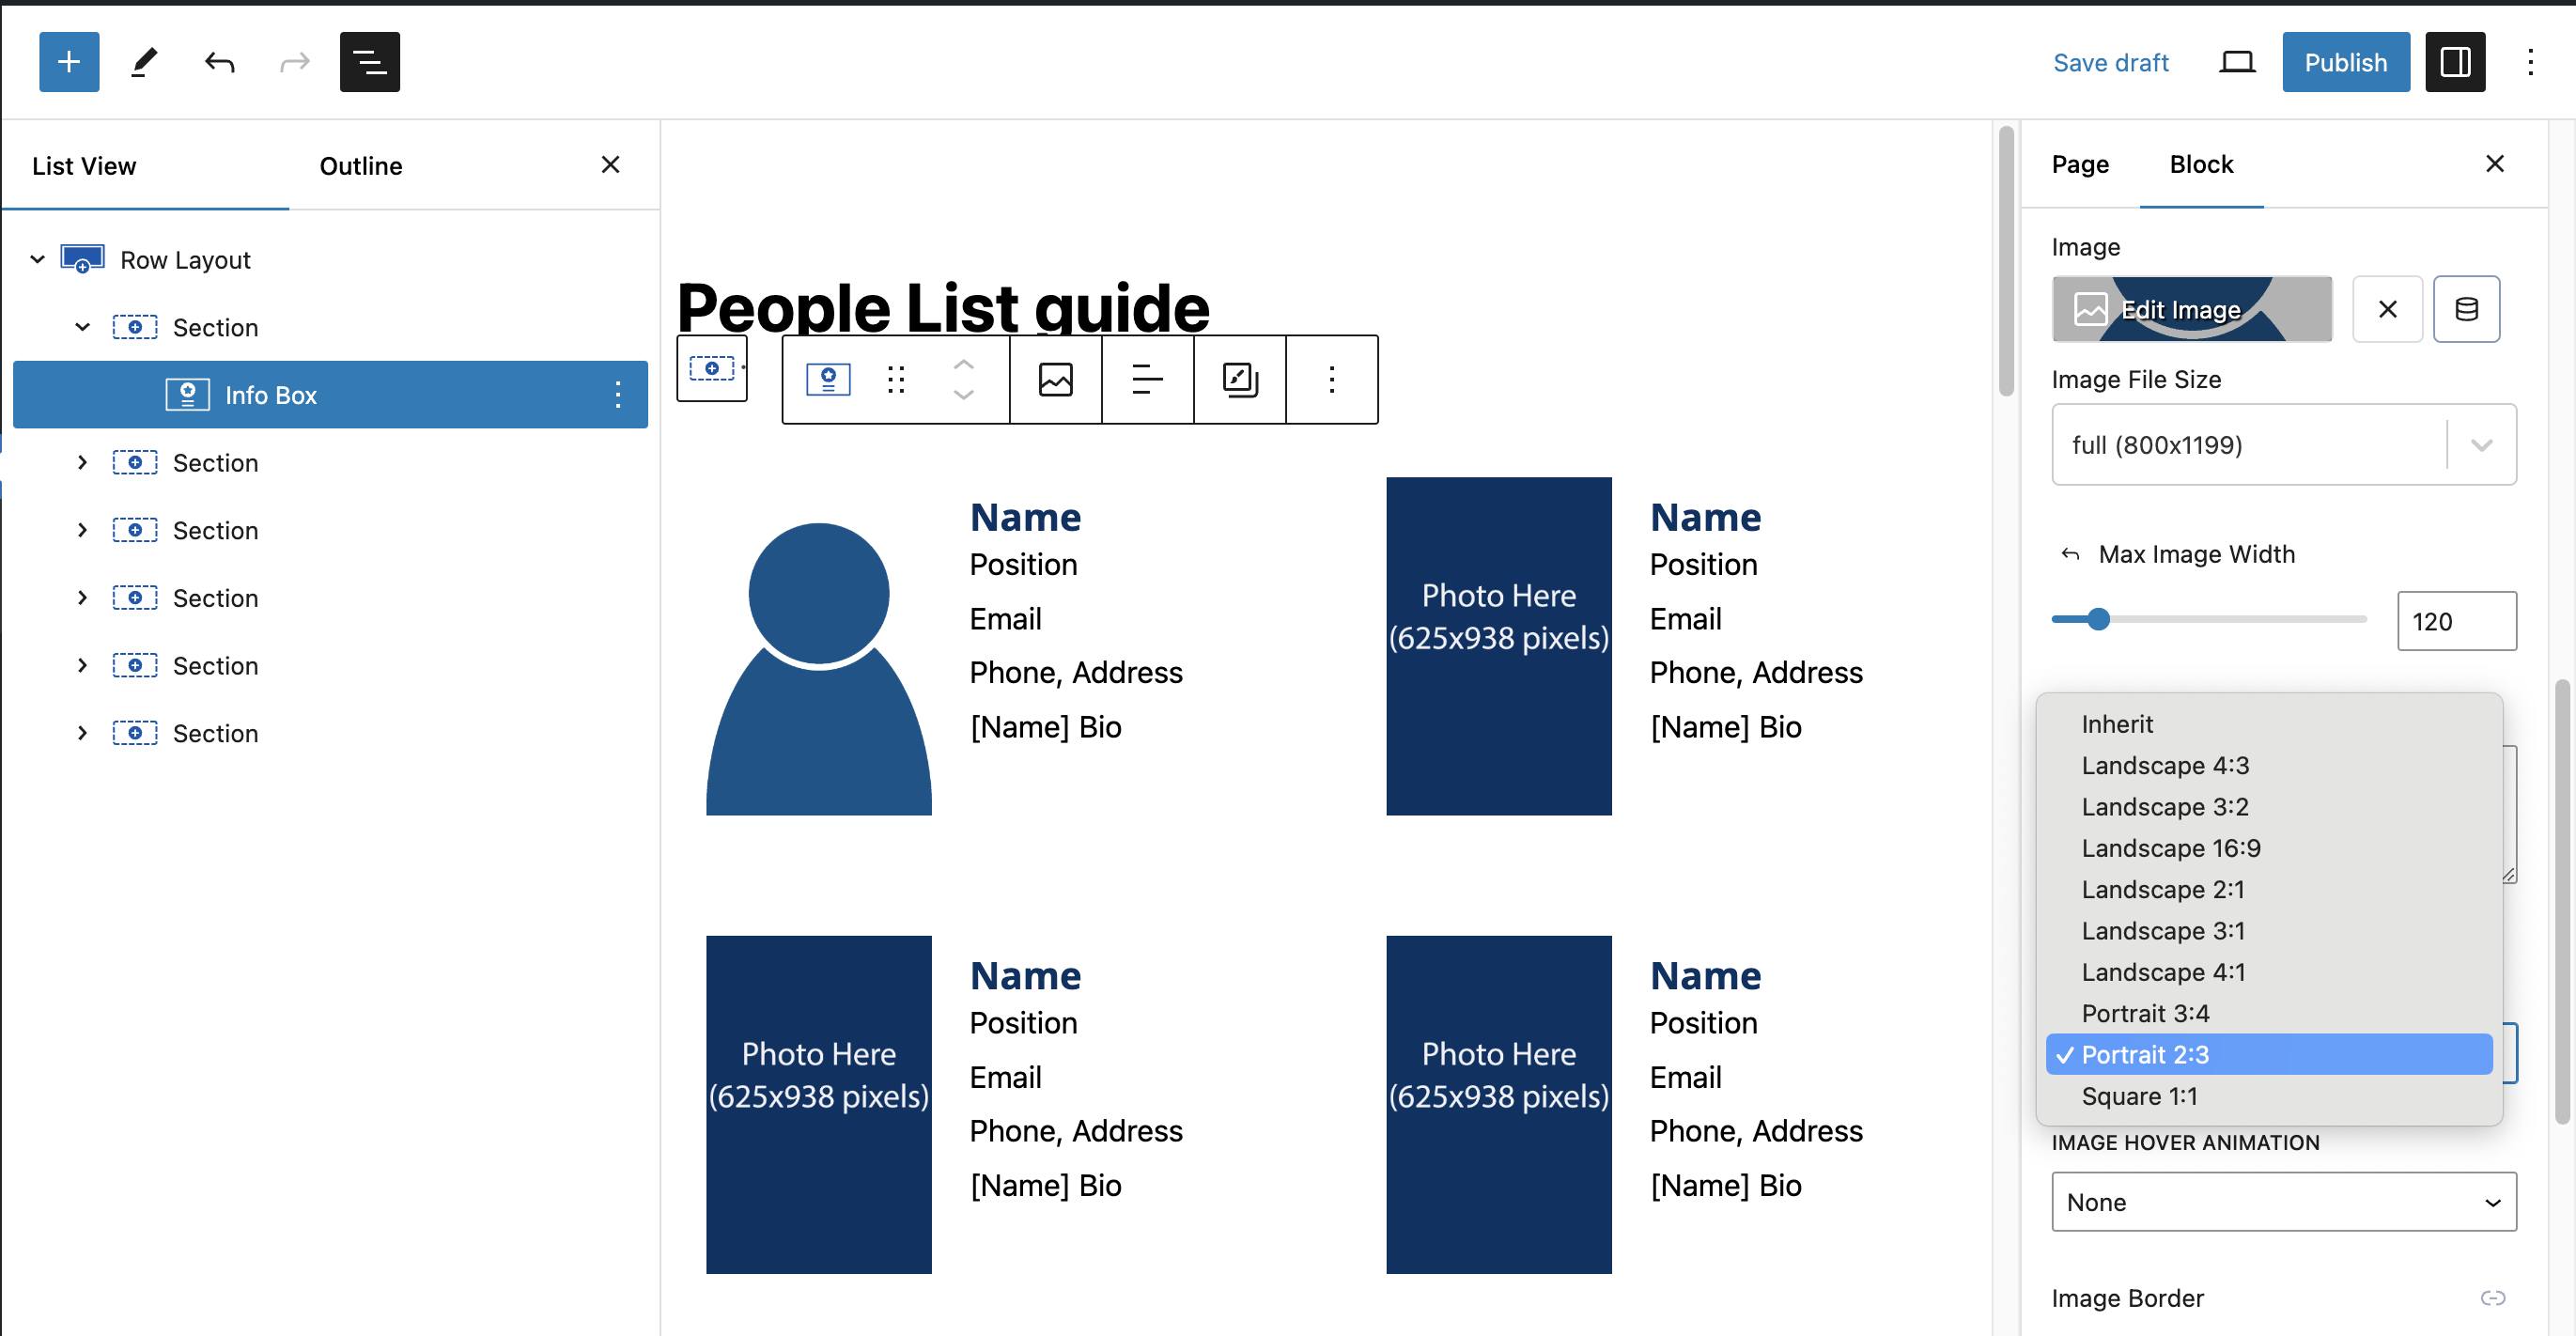
Select an image for a person
The People Group pattern uses the “Info Box” block. Click on a rectangular “Photo Here” image, and select the Info Box “Style” tab (in the settings panel to the right) to replace the placeholder with an image:
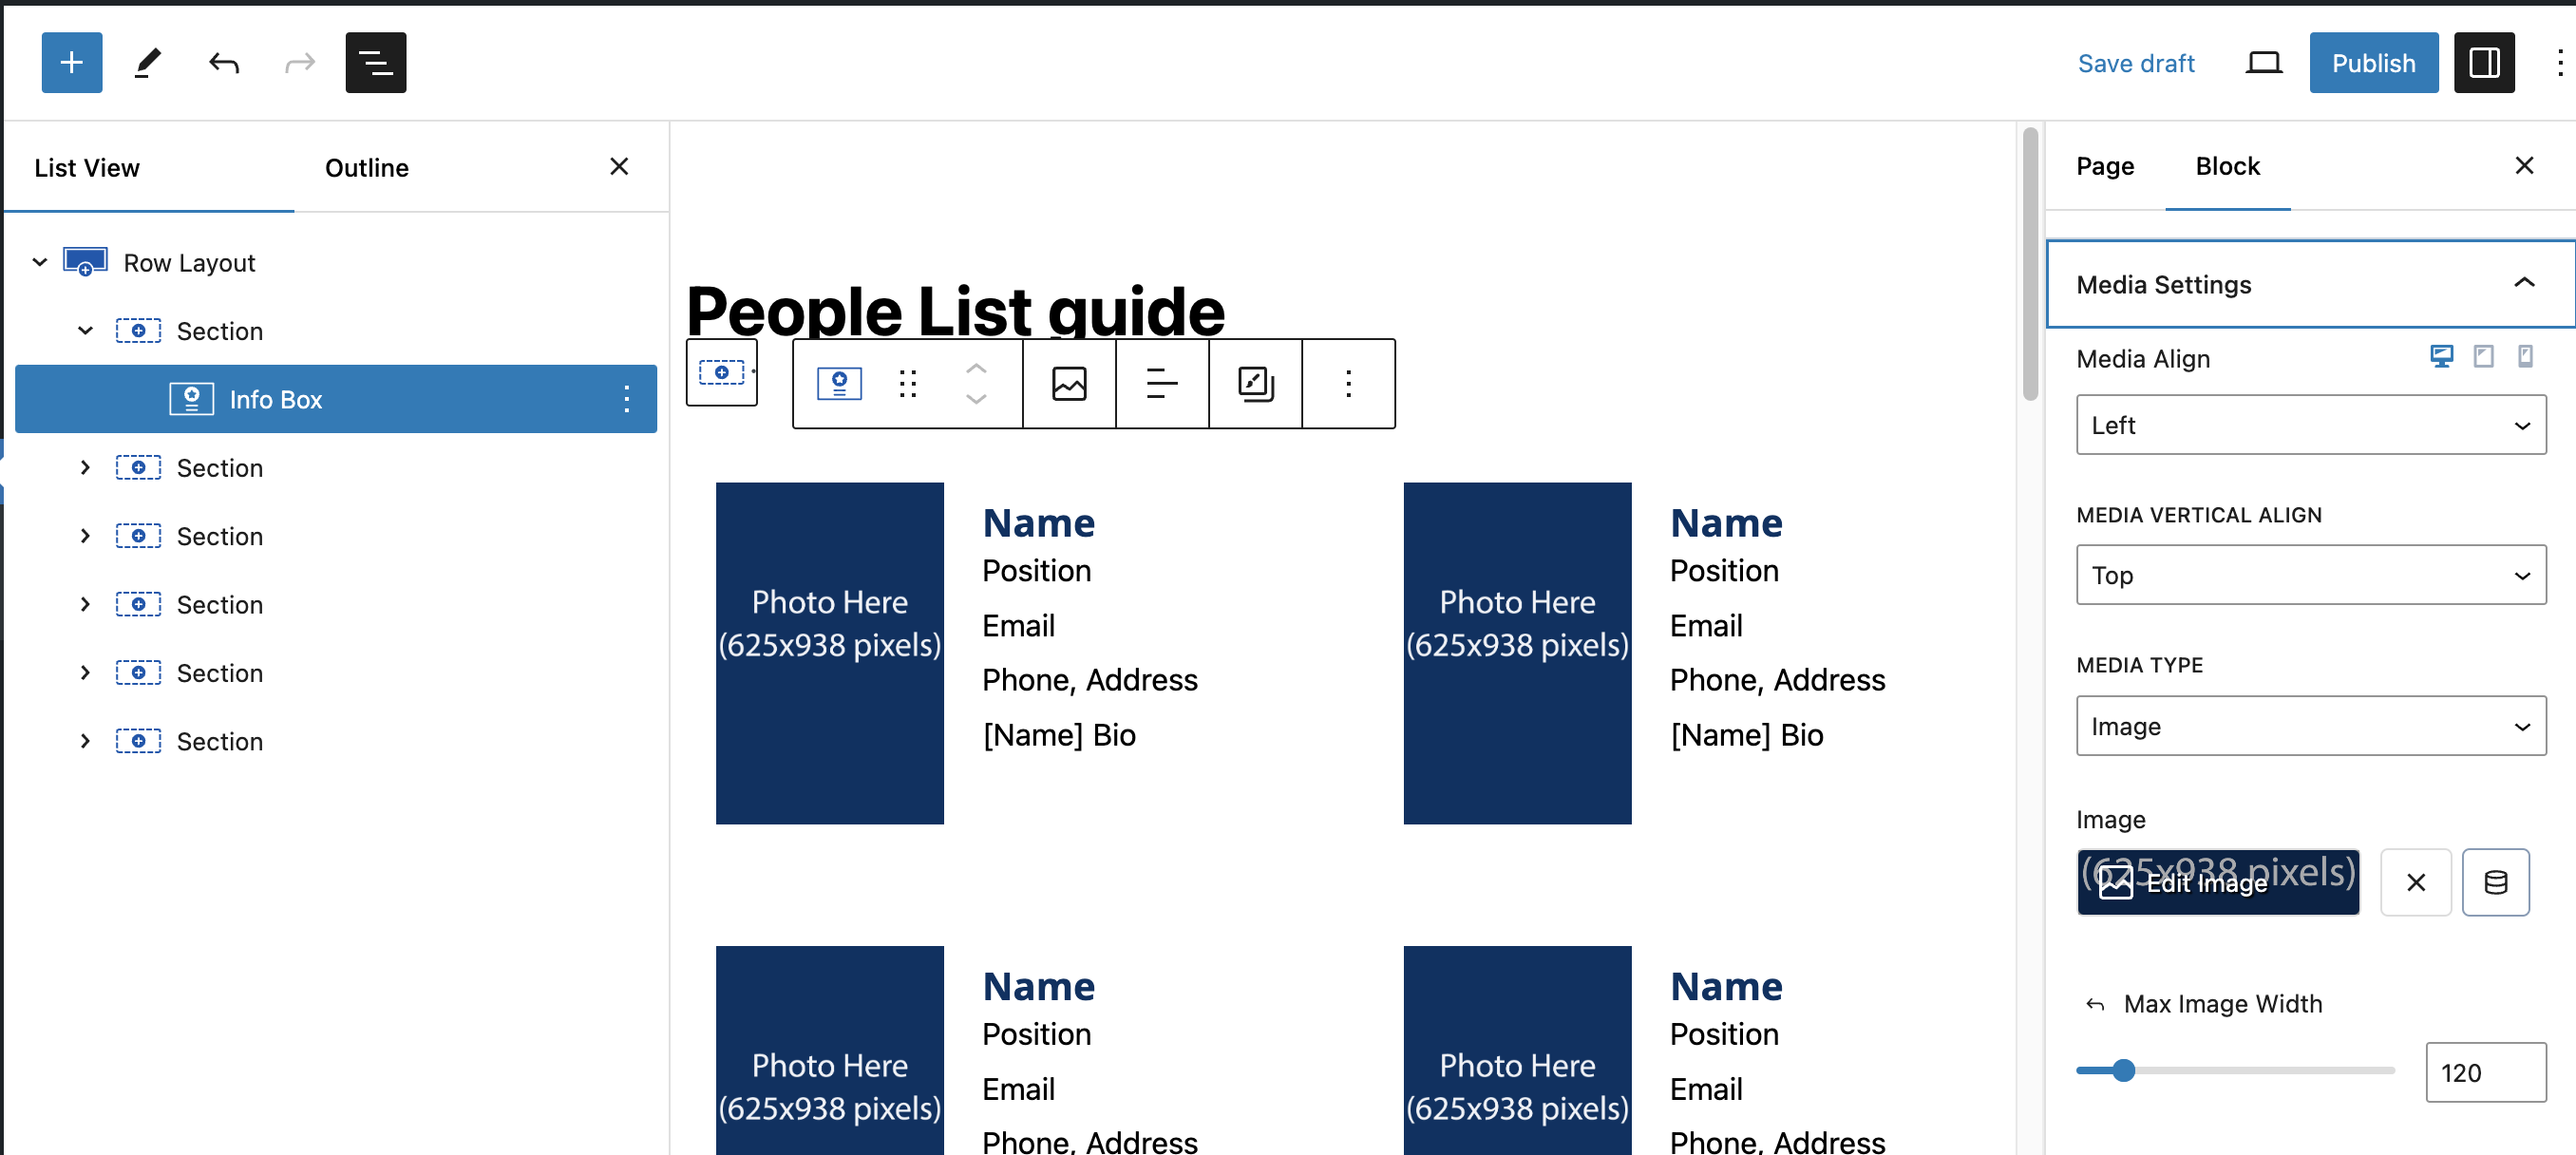
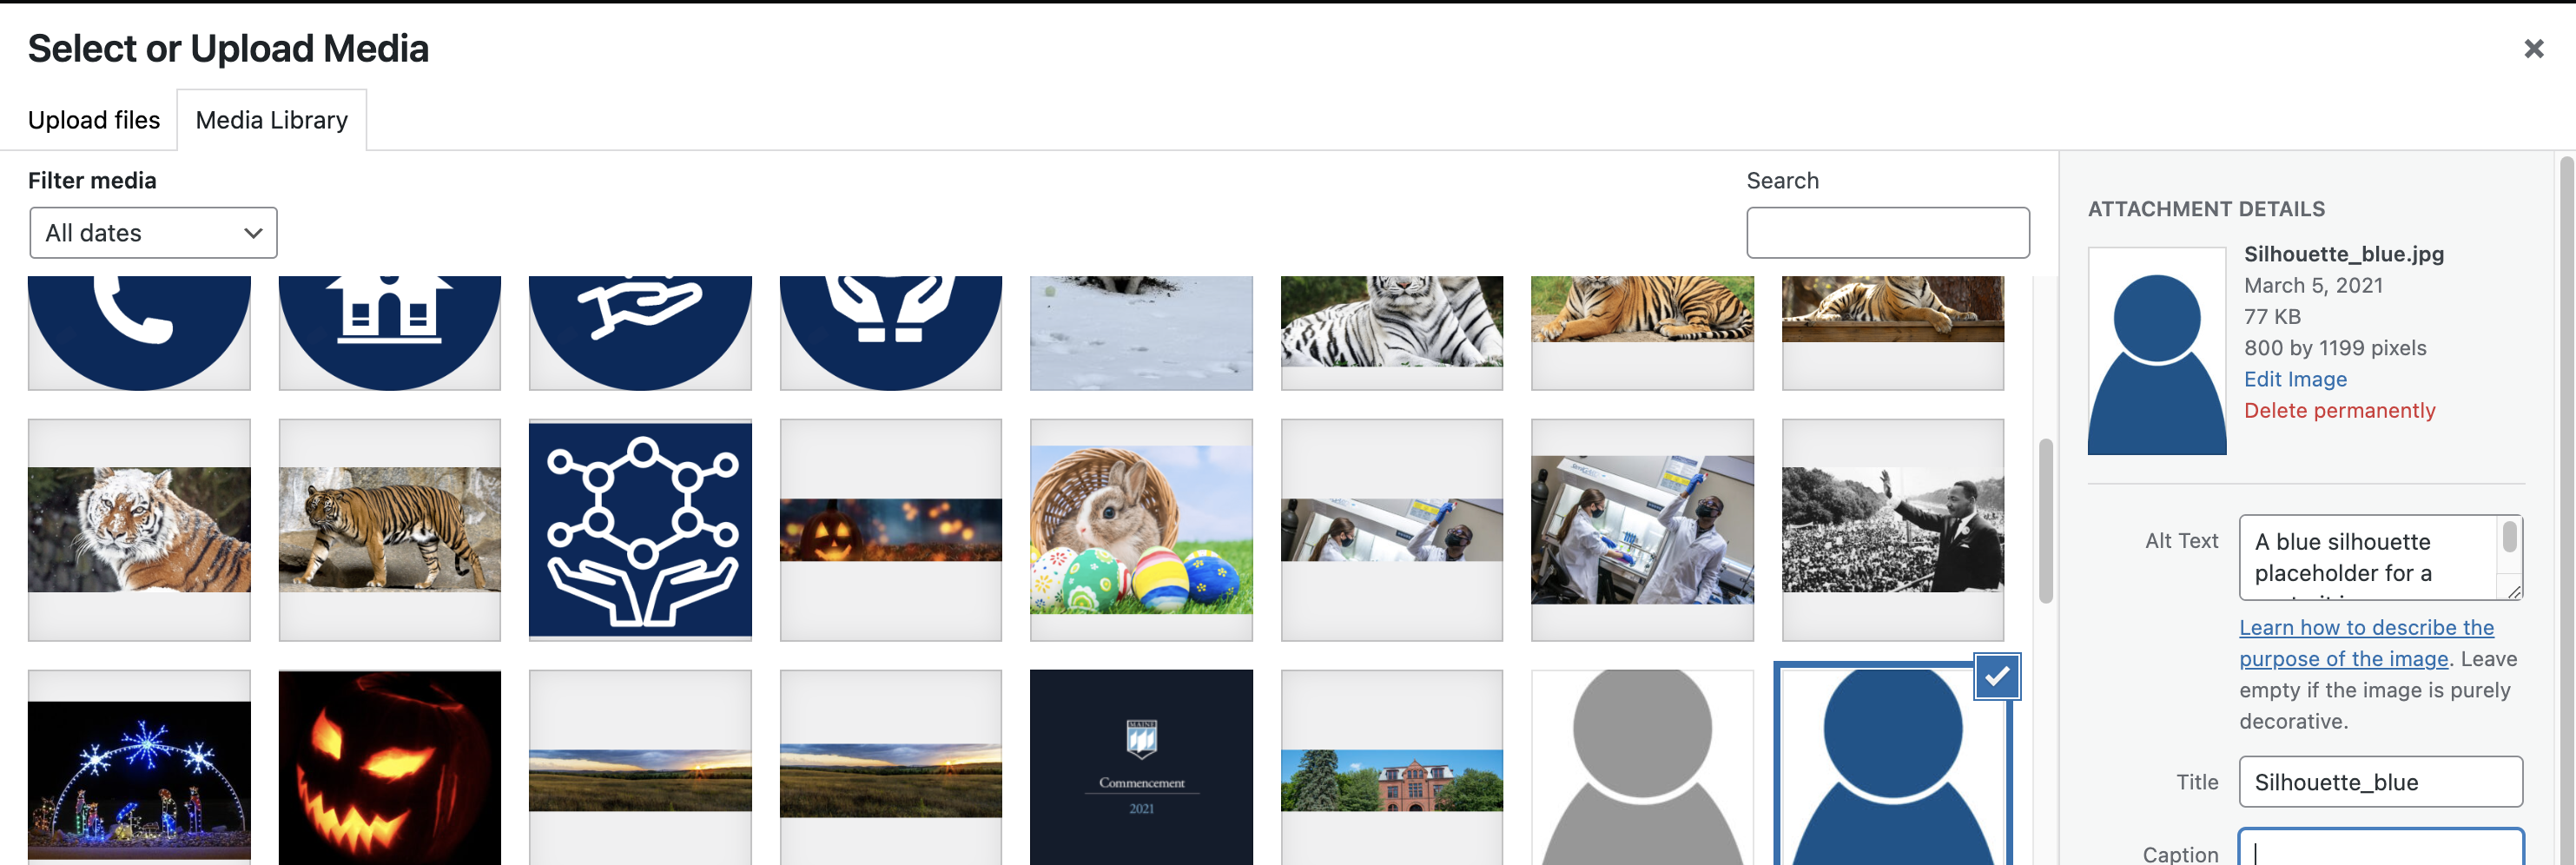
Click the “Edit Image” box to select the appropriate image from your media gallery. In this example, the image is a portrait:
This Info Box image works best when it is cropped to a portrait aspect ratio (2:3). Select this option from the Image Ratio drop-down (scroll further down in the settings panel to find this):
Setting the text and optional link
Update the text to the side of the image as needed to display the name, title, email address, and other information in the info box.

The text to the right of the image is formatted for the most common information listed for a person. You may adjust this to fit your particular formatting needs.
The “Link” field in General Info Box settings in the right settings panel may be used to link this person to content of your choice. By default this is set to “Entire Box” which makes the entire listing a single clickable link.
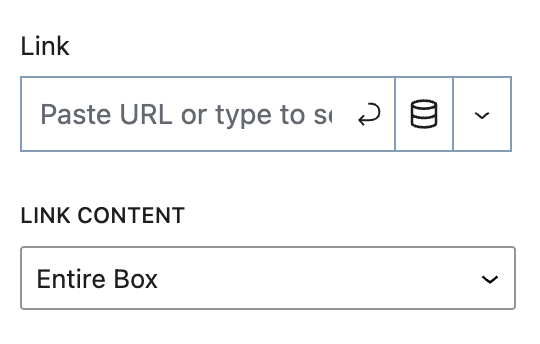
- Link to their email address by entering “mailto:” followed by their email address
- Link to a page with more information about the person by entering that page’s URL
- An external link to their Google Scholar or LinkedIn profile
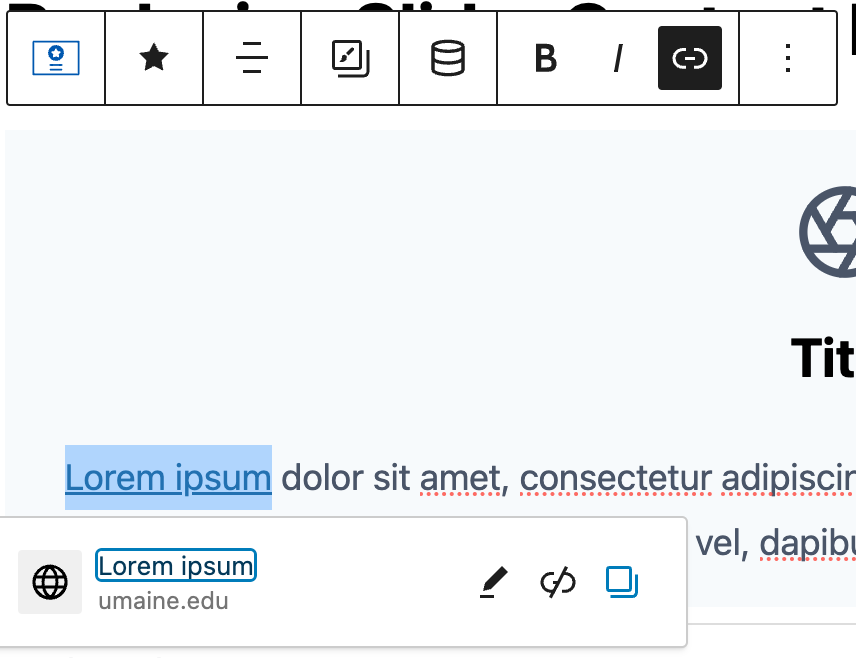
If you change the “Link content” option from “Entire Box” to “Only learn more text” multiple links can be set up in the text editor itself:
Adjusting the columns of people
If you would like to display your people listing in three or more columns, you may adjust this within the Row Layout settings:
