Menus
Creating/Editing Menus
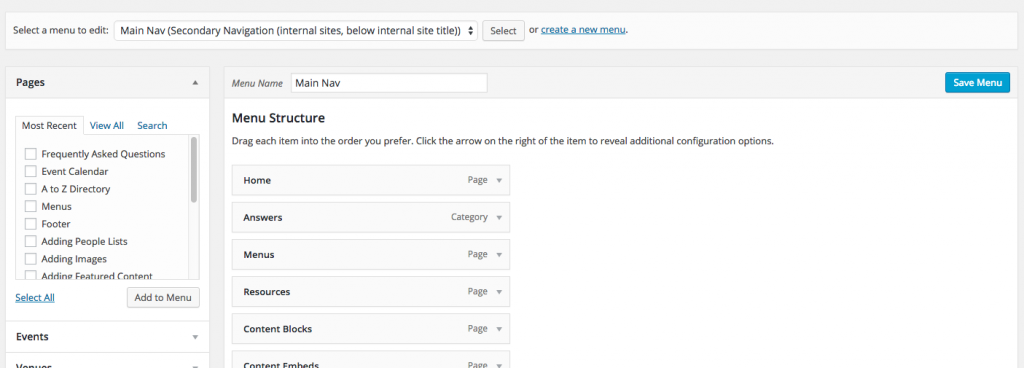
To create a new menu (or edit an existing one), go to Appearance > Menus using the admin left navigation. From here, you will be prompted to give your menu an identifiable name (ex: Main Nav). Next, you can select content from the site, such as Pages, Events, or Category archives of posts. You can also add a Custom Link should you want to add a menu link to an external URL.
Once you’ve created your menu, or finished your edits, click Save.
Setting Menu Locations
On the parent site (http://umaine.edu), the global navigation is set via three menu options: the Primary Navigation, Quicklinks, and Footer Navigation. This configures the displayed menus across the entire network of sites. 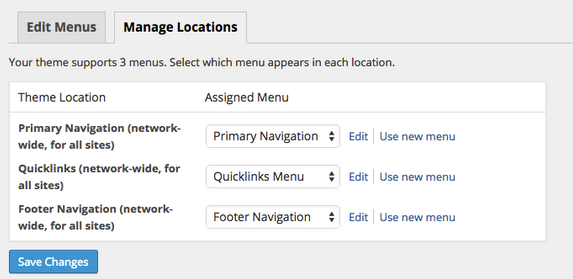
Subsites have two menu options: Secondary Navigation and Social links. These menu setting only apply to the subsite which you are editing. 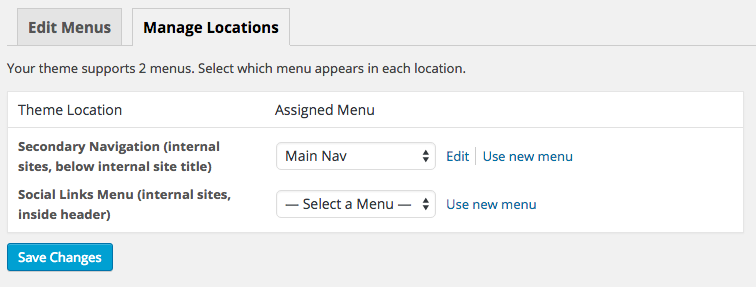
Both site types set menus by selecting saved menus from the dropdowns pictured above. Just choose the right menu and click Save Changes to apply to your site.
Adding menus to page sidebars
Before a menu can appear on a page, you must first change the page template from Default to Page with sidebar.
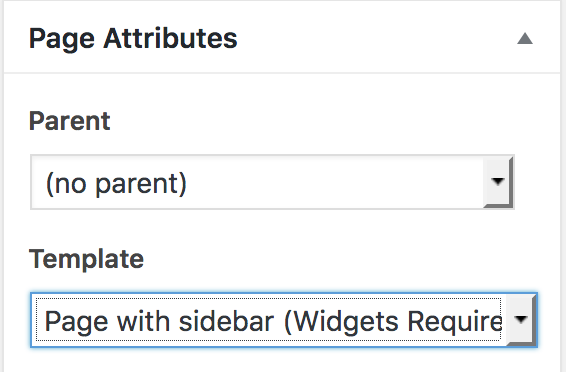
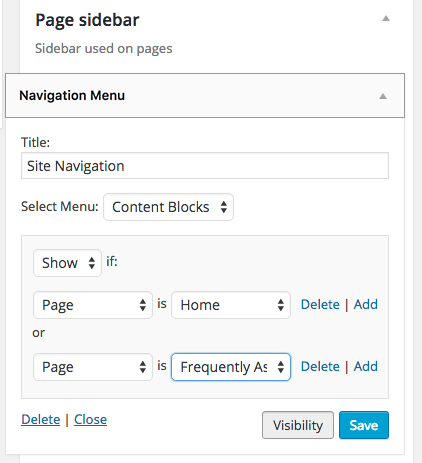
To show sidebar menus only on certain pages – Go to Appearance > Menus. Create a new menu for the custom sidebar and save. Next go to Widgets, also under the Appearance tab and drag and drop the Navigation Menu widget under the page sidebar. Next, select that navigation menu and click on Visibility. Select “Show” if “Page” is…select the page you want the custom sidebar to appear on. Click Save.
Sorry. You must be logged in to view this form.
