Protocols
Annual Survey Protocol – This project is the first time regular records will be developed to track the erosion of shell middens.
For the survey to provide comparable data, the survey must be carried out from the same location each year. To do this, measurements will be made each year from an established base line.
Equipment List
- 1 meter scale (tutorial on making scale)
- 10 meter rope marked in 1 meter increments (instructions provided)
- Tape measure marked in metric units (cloth or metal)
- Camera (cell phone or handheld)
- Handheld GPS (optional)
- Notebook
- Pencils
- Graph paper
- Data sheet (link provided)
If you are minding a midden for a conservation group, a baseline will already be established for you, or may be asked to participate in doing this.
If you are an individual, you will need to establish your baseline in cooperation with the landowner.
- Base lines should have fixed endpoints, and be located approximately 2 m from the midden edge for the entire length of the midden, if possible
If a single, straight line is not possible, one or more midpoints can be added.
- A variety of materials can be used to mark endpoints
- Existing trees
- Wooden stakes driven into the ground
- Rebar driven into the ground (Caps are available to make the top more visible.)
- Plastic tent pegs driven into the ground
If the top of the midden is a mowed lawn, these stakes can be driven flush with the lawn surface.
- Record the location of the stakes with a handheld GPS, if possible to aid in relocating the stakes the following year.
- The baseline length should be fixed at the nearest meter to make measurements and recording easier, if possible.
Making the measurements:
- Lay out the rope with one meter markings along the baseline. Fix each end so it will not move.
- Draw a sketch of your baseline in the notebook indicating the end where you will begin measuring. (Include any reference points like trees or boulders that can be linked to photographs)
- Photograph your baseline from each end. Indicate the starting point on your photo. (Have a helper indicate the starting point in the photo, or put a sign at the starting point)
- Measure the distance to the edge of the midden (break in slope) perpendicular to the baseline at each endpoint and meter mark, recording these distances in your notebook.
- Using these measurements, make a map of the baseline and midden edge on the graph paper. (See illustration)
- Photograph your map, and upload it to the database.
- Upload the photos of the base line endpoints to the database.
Follow the photography protocols (below) and record the condition of the midden using the midden description protocols (below).
Midden Photography Protocol – Until this project, no organized or structured plan has been in place to document the erosion of Maine’s shell middens. While Midden Minders will be recording data relevant to the midden, “a picture is worth a thousand words”. The images in the database will document seasonal and year-to-year changes, and help researchers understand the processes that taking place.
Equipment:
- Camera
- 1 meter scale
- Notebook and pencil
- Handheld GPS
In taking photographs of the midden, it will be important to:
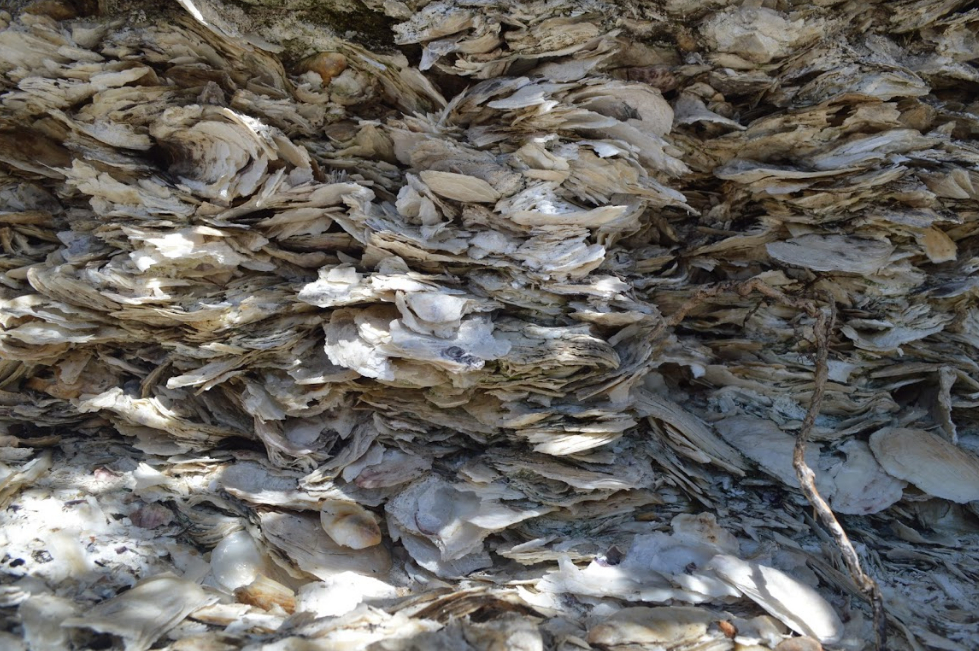
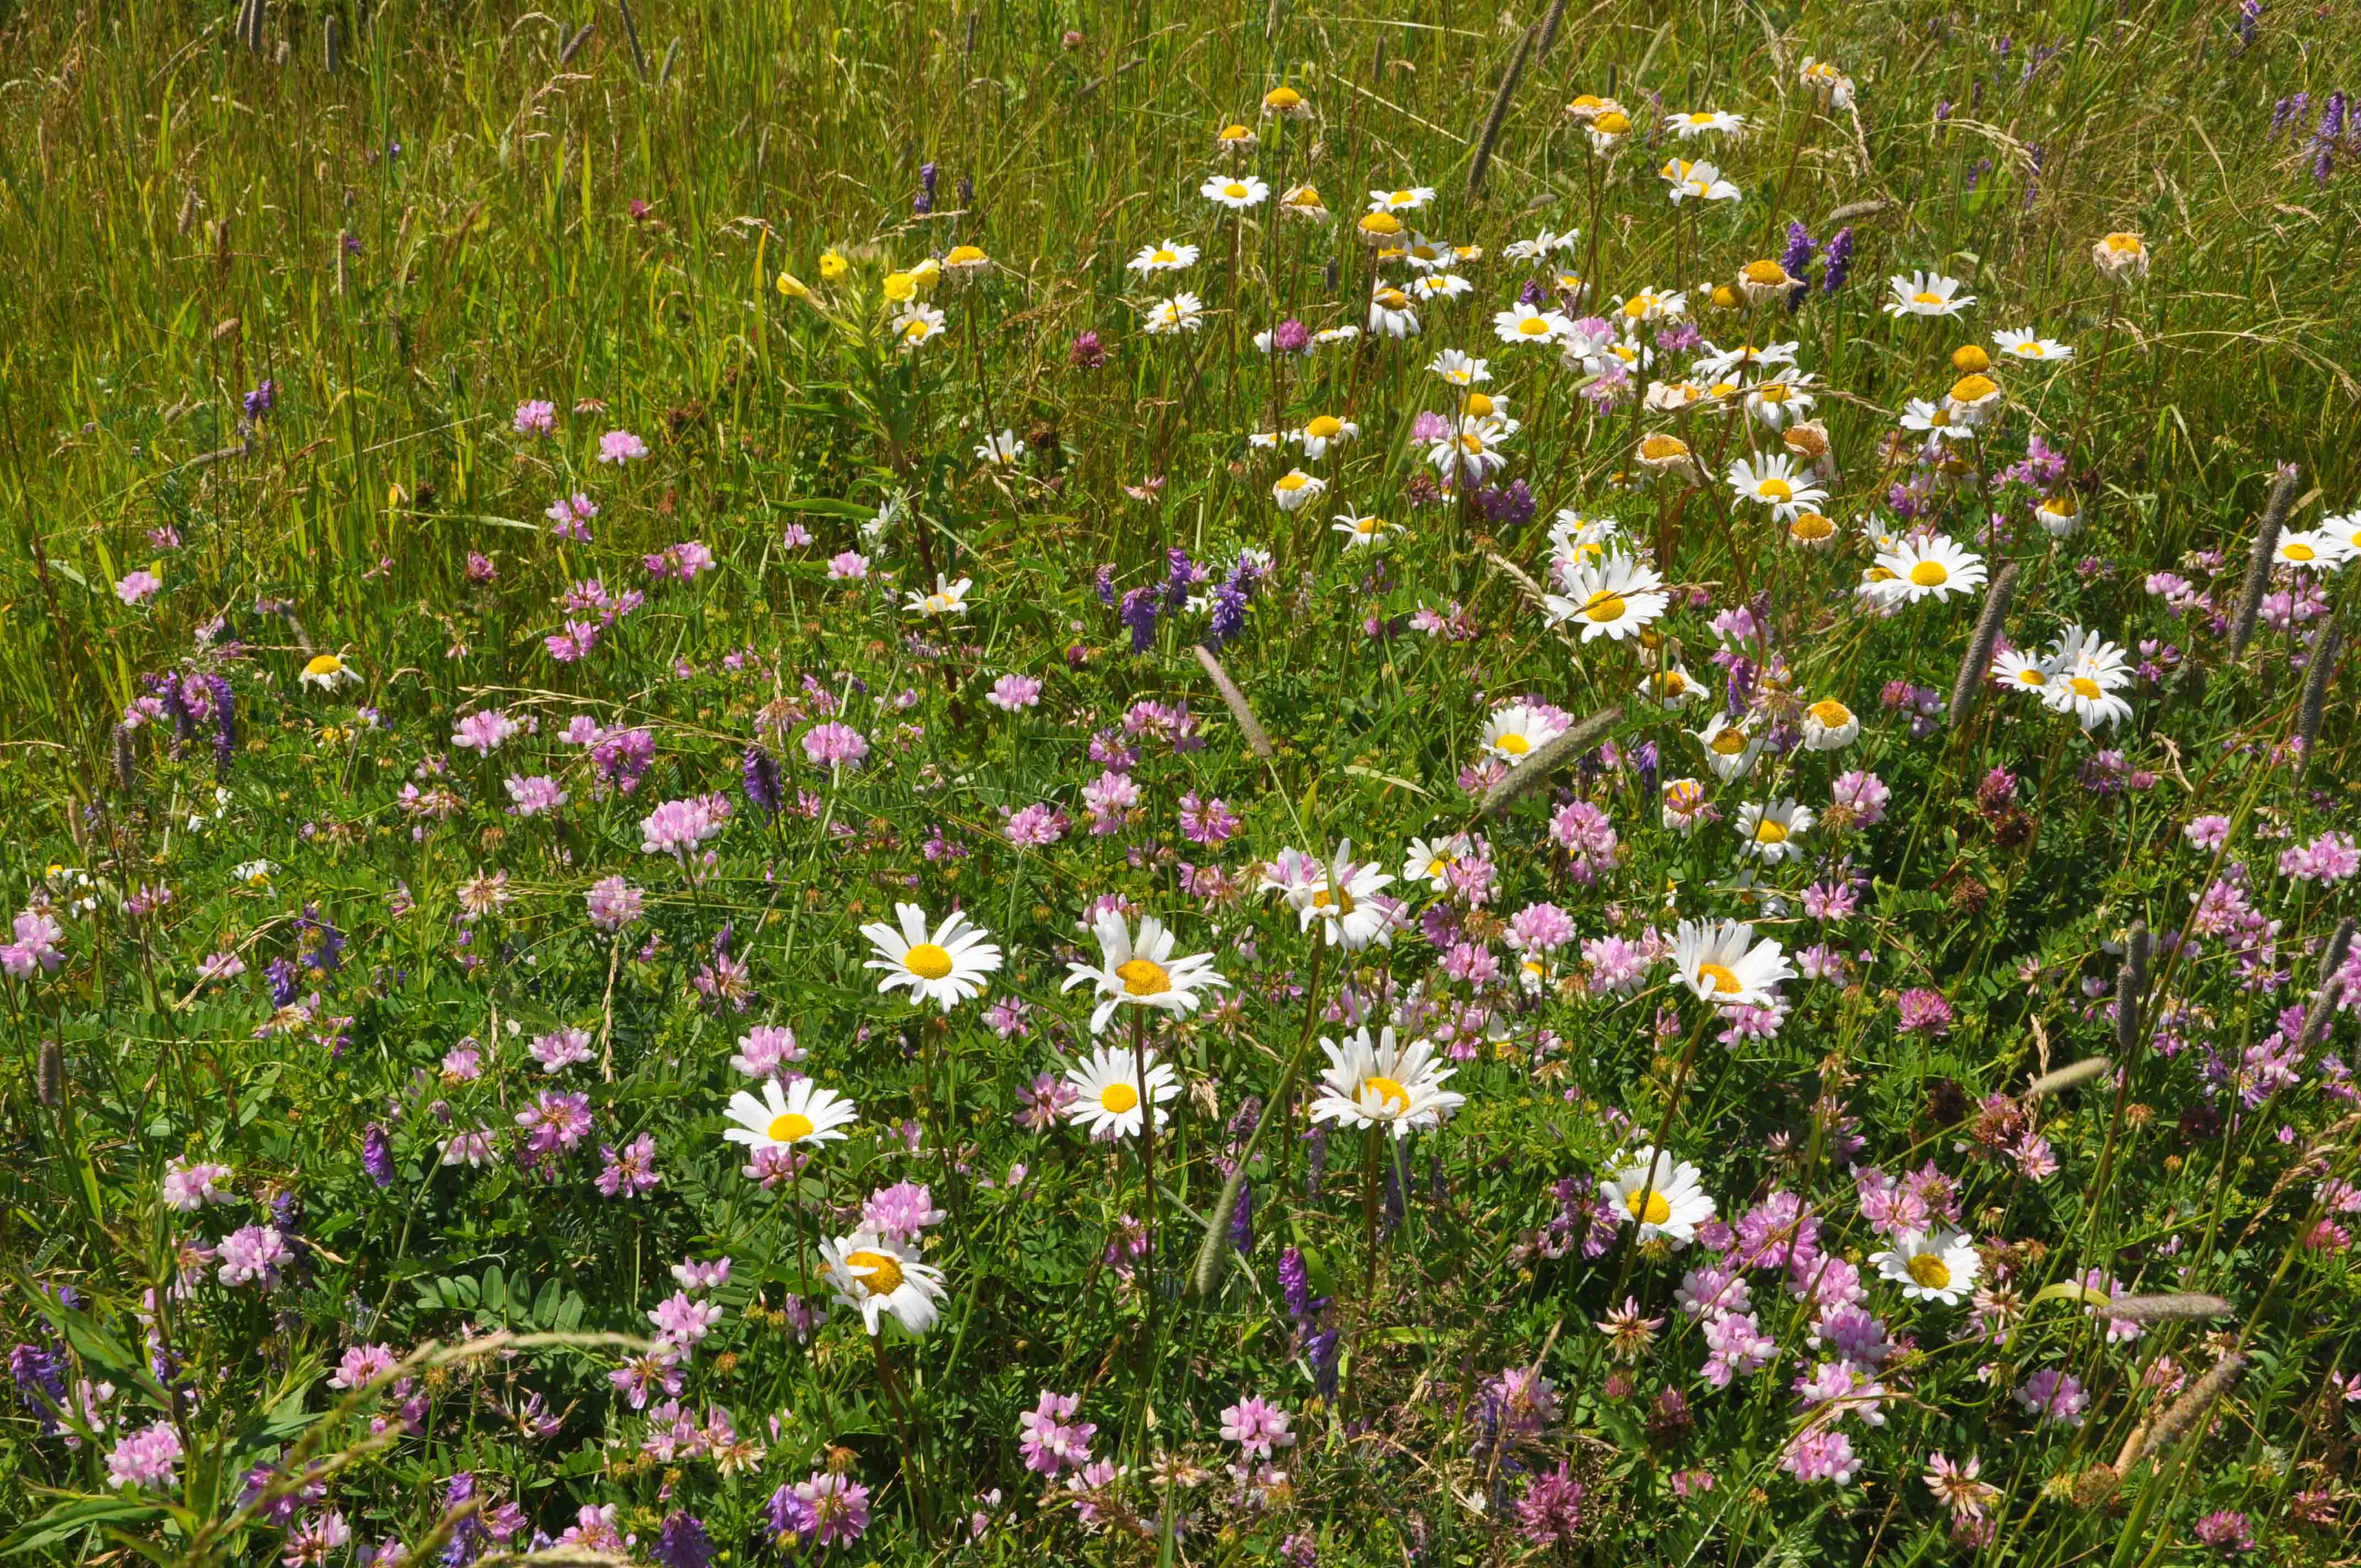
- Show the top and base of the midden. When photographing the midden, make sure that you capture the base of the midden, including some of the beach or substrate and the top of the midden, including some of the vegetation at the top. Stand far enough back from the midden to capture the top and bottom in one image, or take two or more vertically oriented photos with approximately 50% overlap in each.
- Show the entire lateral extent of the midden. In order to document changes, it is important to capture the complete lateral exposure of the midden. If the midden is large, you may need to take two or more horizontally oriented photos with approximately 50% overlap in each. If your camera has a panorama feature, please take a panorama photo of the midden showing the top and bottom of the eroding face. If you can stand far enough from the midden, and your camera has a panorama mode, take a panorama to supplement still photos.
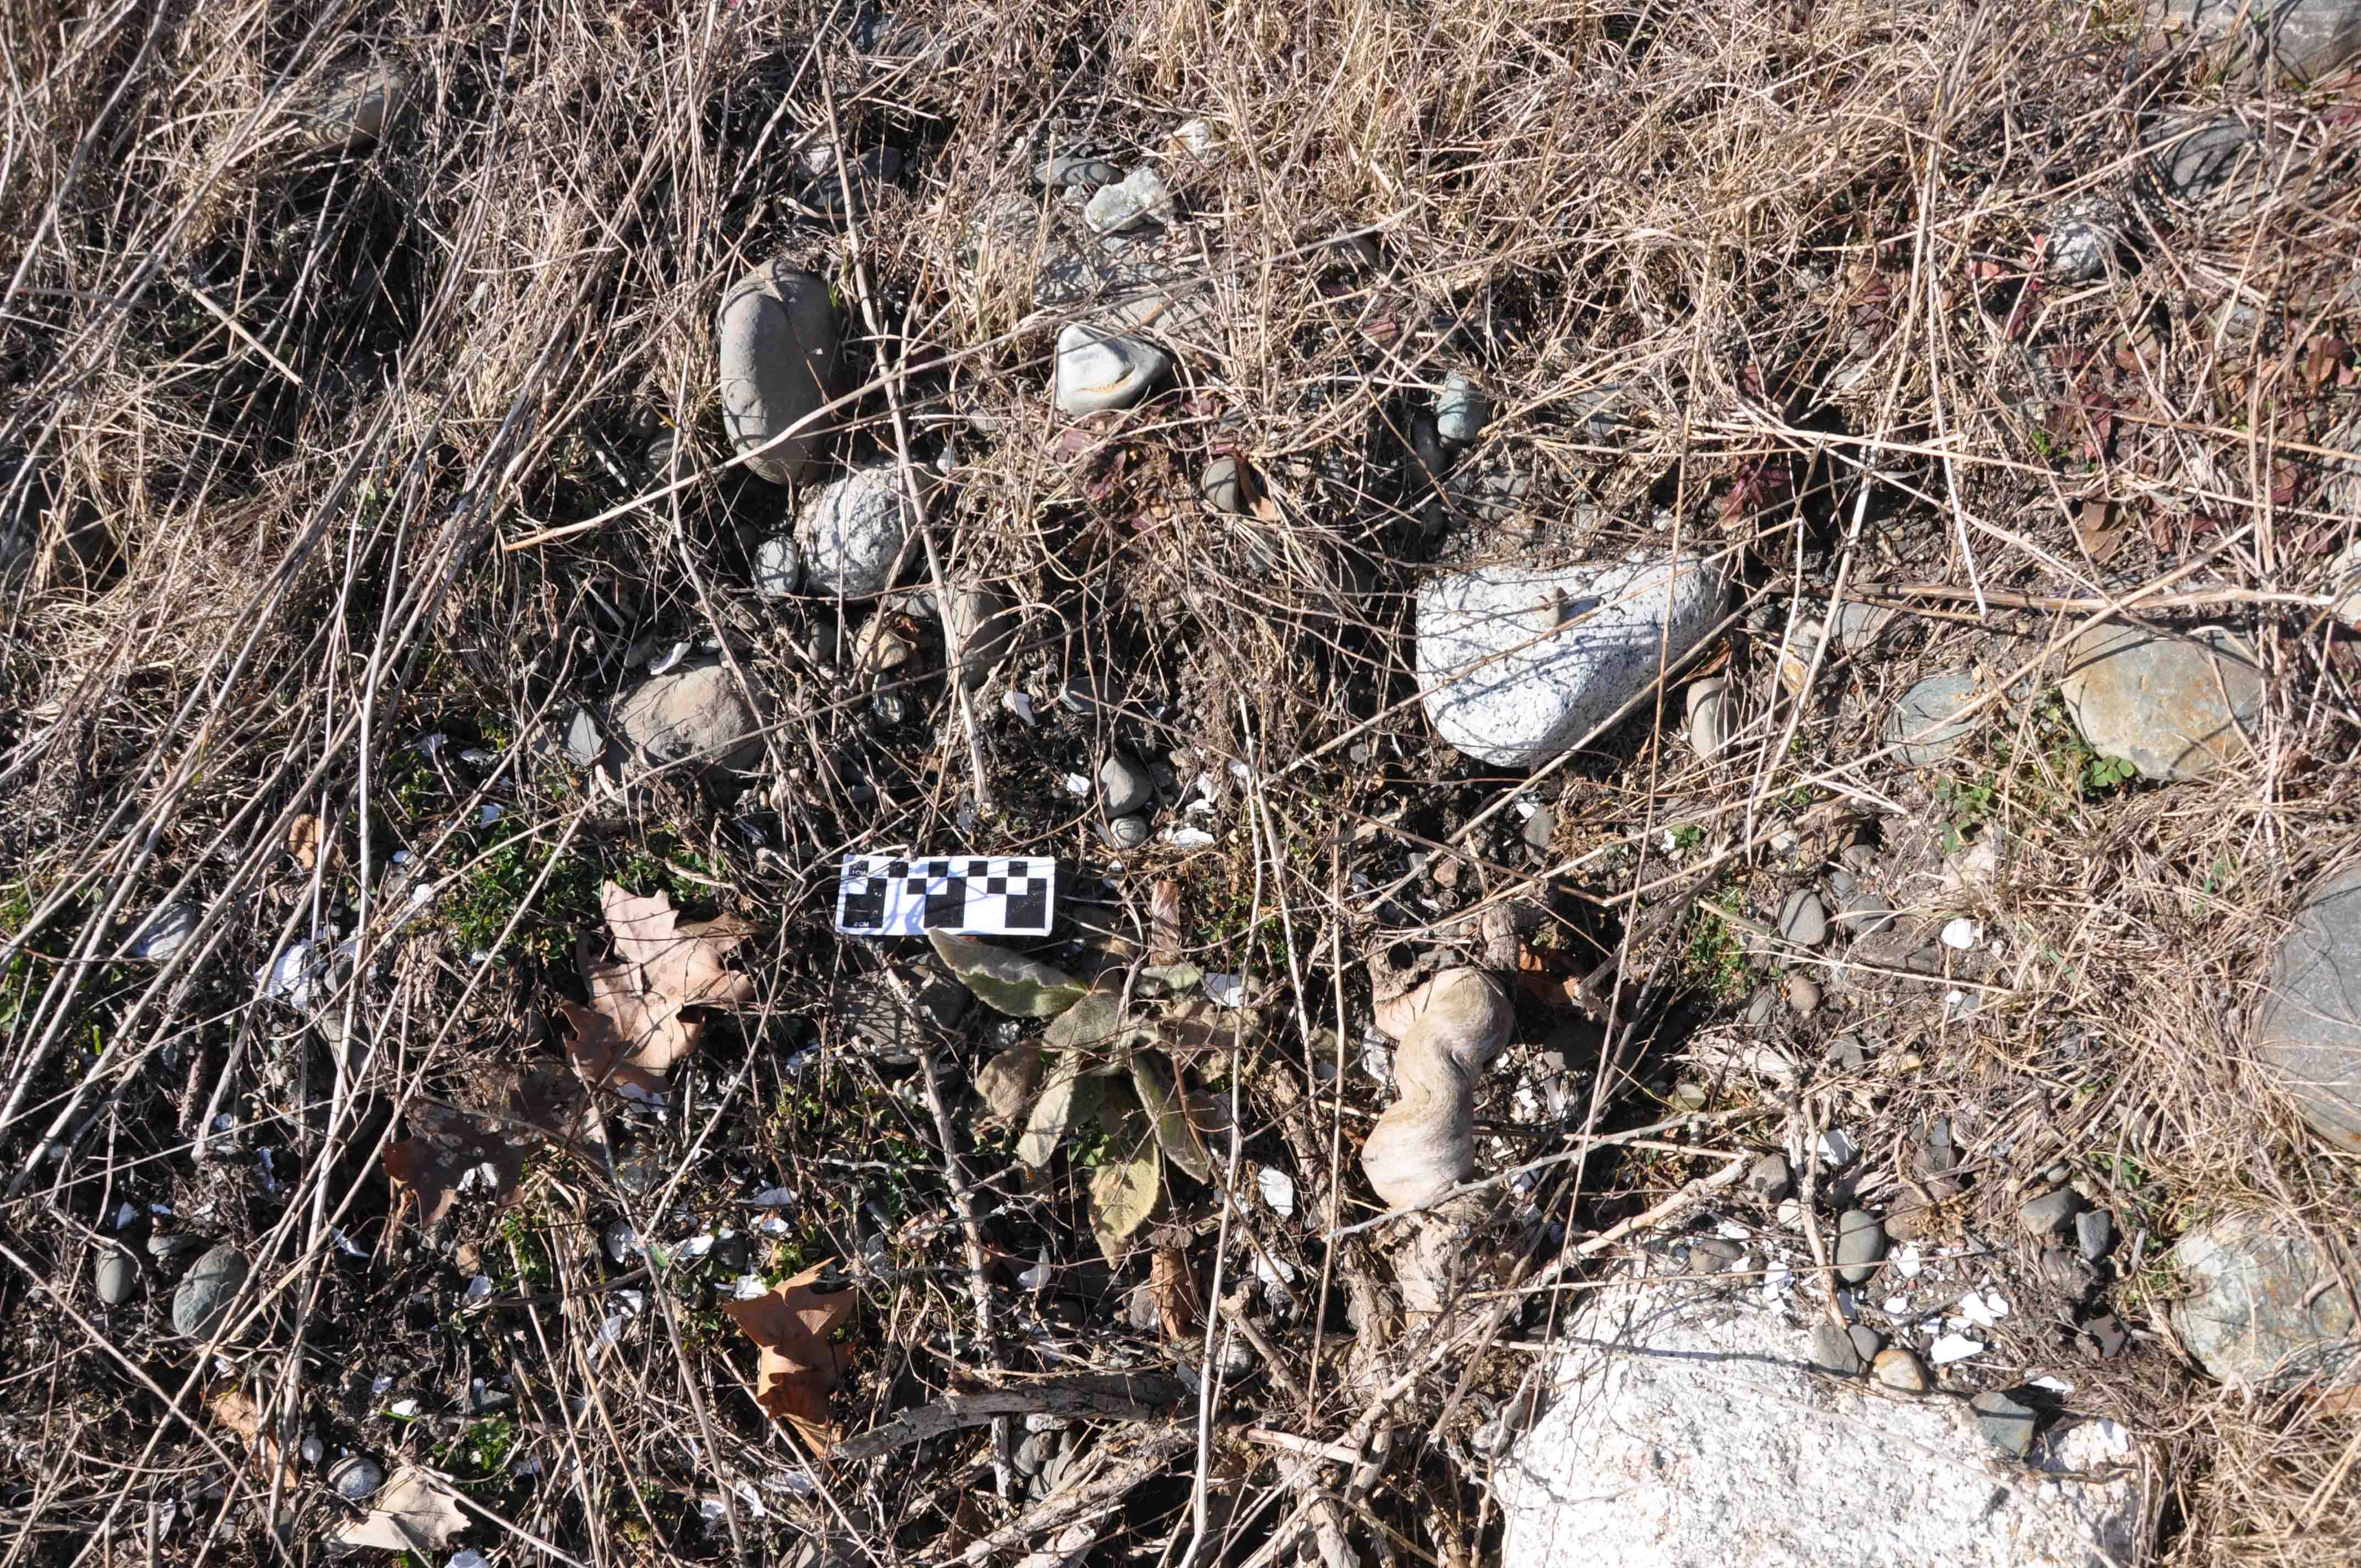
- Changes from photo to photo or times when you are closer or farther from the midden can be easily compared and measured if there is a uniform scale in each of the images. It will be easier for researchers to make measurements from the photos if a standard, 1 meter based scale is used. You can easily make a scale from a 1 meter long piece of wood that you can mark in 10 centimeter increments or a purchased meter stick (Available at costs less than $10 from office supply stores). Improve the visibility of the scale by painting the front of the ruler with alternating 10 cm black and white bars.
- Take photos from the same location during each visit. Since one of the goals of the effort is to provide a record of change at each midden site, providing images that can directly compared will provide the best data. You can use a fixed natural (rock outcrop, boulder) or human-made feature (wharf, set of stairs) that you will be able to reoccupy as your beginning point during each visit. This may mean visiting the midden at approximately the same stage of the tide each time.
- Tip: take a photo of these locations to take with you on your next visit. This will make reoccupying the same spot easier.
- Take photos while facing perpendicular to the midden. These images can be collected using a cellphone or SLR camera, either as single images or a panorama. If taking single images, allow approximately a 50% overlap from image to image to allow the photos to be “stitched together” to create a single image. If the midden is large, you may need to move along the midden face.
- Be sure the the following for inclusion in the database with your photos:
- Midden
- Date
- Time
- Stage of time
Landowner Permission
- The letter included below is both an introduction to the Maine Midden Minders, as well as a letter of permission for land use.
- All participants minding middens on private property need to provide a notarized copy of a the letter included below. This letter indicates that the participant minding middens either own the midden property or have permission from the landowner to visit the midden.
- All participants minding middens on conservation organization land must be registered with that organization, and be on a list of minders provided by that organization to the Maine Midden Minders.
- Please have landowners sign the letter. After the letter has been signed, it must be notarized and sent to the Maine Midden Minders.
- Letters can be scan and email to middenminder@maine.edu, or mailed to:
- Midden Minders, Climate Change Institute, University of Maine Orono, ME 04469
Database registration – Maine Midden Minders will be registered with the database after completing the above tasks. Maine Midden Minders will not be able to upload data to the website until registered.