Rock Climbing Equipment
DISCLAIMER – Before hitting the rocks (or gym) it is critical that you double check your gear.
What is a grading system?
Grading systems are used to describe the difficulty level of a climb. Two systems are primarily used in the U.S., the Yosemite Decimal System for climbing and the V Scale for bouldering. Rating scales can be variable and subjective. The environmental, regional, situational, informational, and personal context of a climb can cause the difficulty of a climb to vary. Therefore, it is important to just use the systems as a guide and not accept it as absolute truth.
V Scale System
Named after John “Vermin” Sherman, the V scale or Vermin scale system is used for boulder problems. The scale begins at V0, routes with the easiest difficulty, and ends at V16, routes with the hardest difficulty.
Yosemite Decimal System
The Yosemite Decimal System, or YDS scale, describes grades for hiking, scrambling and climbing. All climbs are considered a class 5 grade, but are extended into sub-categories to assess the difficulty of the climbs. Technical rock climbs are rated from 5.0 (least difficult) through 5.15 (most difficult).
Holds
Different hold types mean different techniques to best grasp and use for your benefit up a route. Knowing the different types is advantageous for reading a climb or to help communicate with other climbers. Multiple climbing holds are listed and described here.
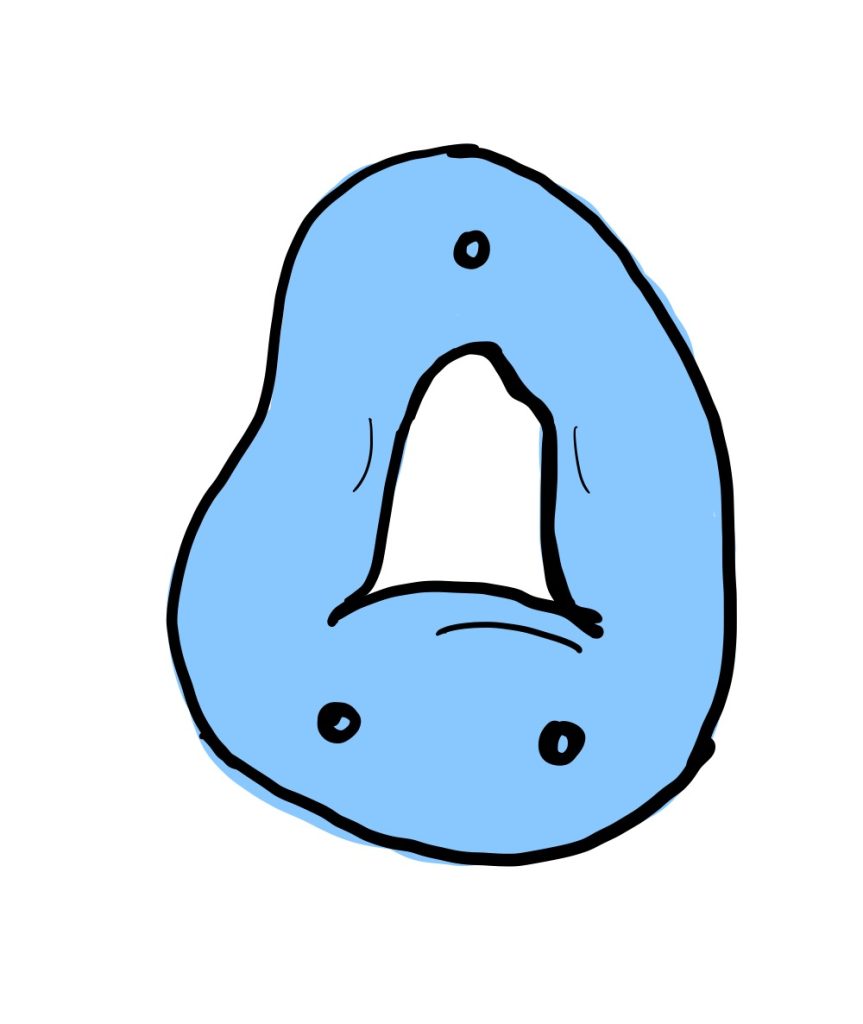
Holes in the rock in which only a few fingers can fit inside.
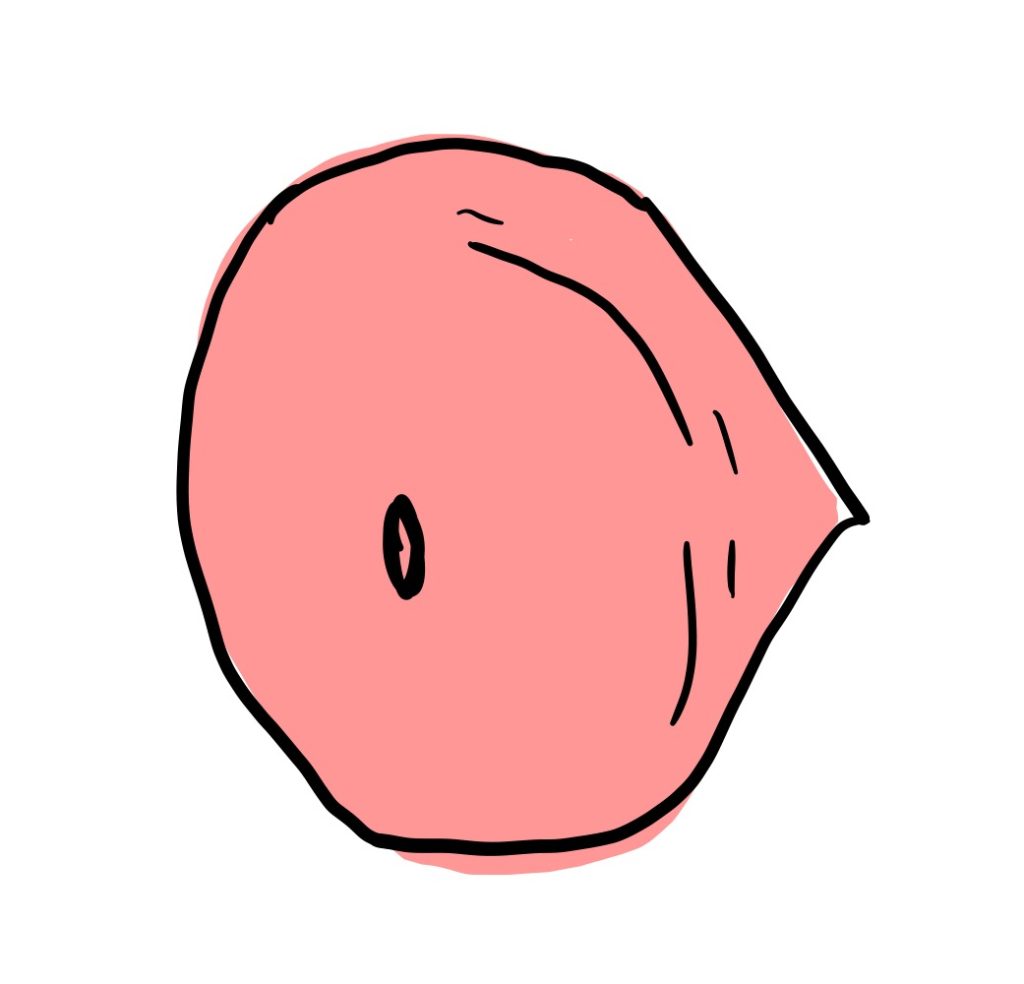
Jug
Bigger holds where multiple pads of all your fingers can easily grip.
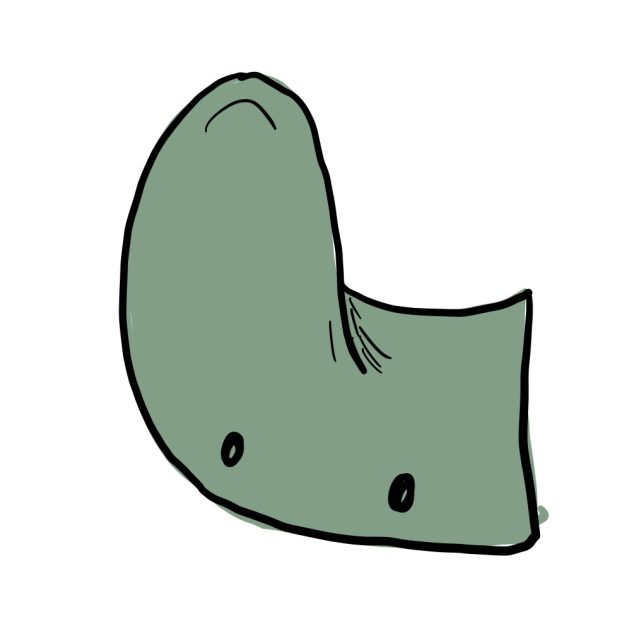
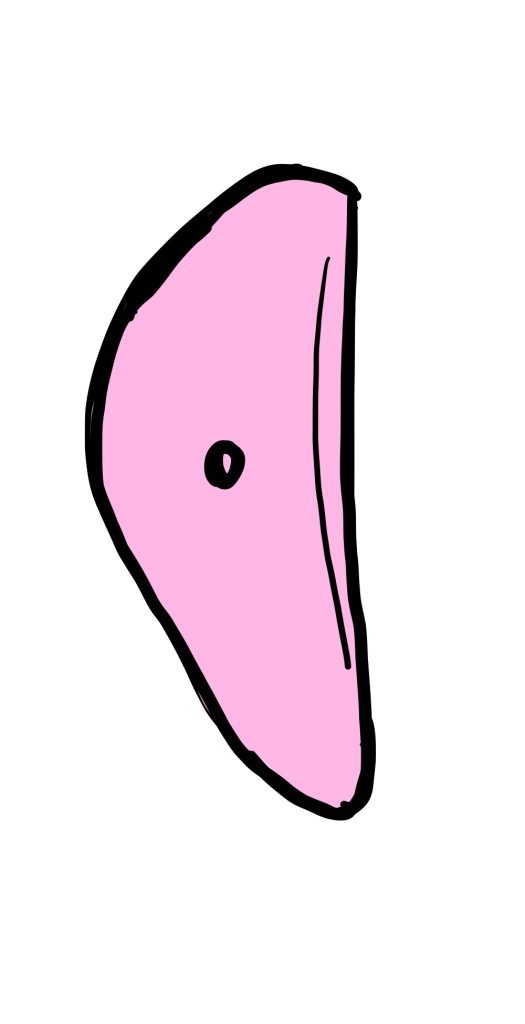
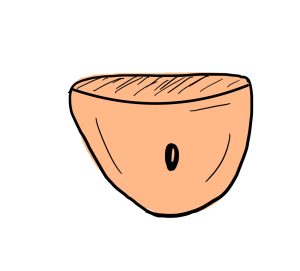
Sloper
Large rounded jut-outs that are grasped with open palms.
Undercling

Holds that come in many sizes and must be gripped from the bottom in order to pull up.
Pinch
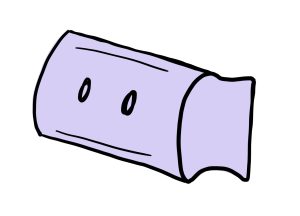
A hold that comes in both wide and narrow sizes but it grasped between the thumb and fingers.
Crimp
Small holds that typically only allow 1-2 finger pads to grasp. Has three techniques to hold: open hand, half crimp and full crimp.
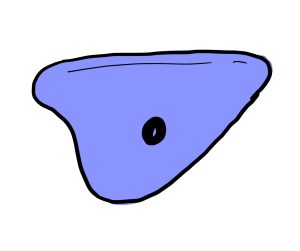
Sidepull
A hold turned to the side that must be pulled.
Edge
Flat ledges that do not have an incut and can often grasp with all fingers and multiple pads.
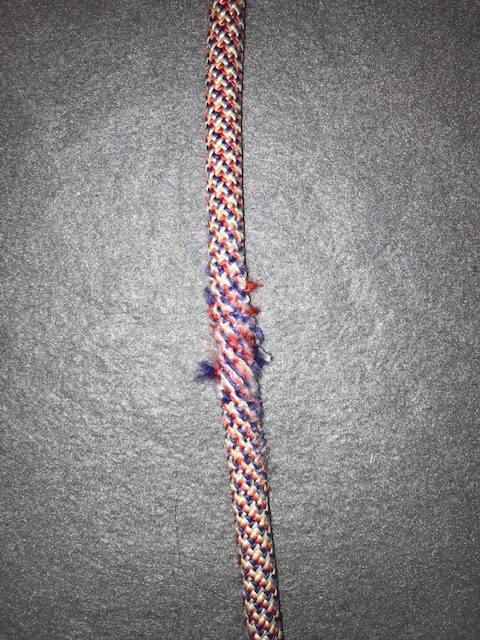
Ropes are an integral part of your climbing system. Before starting a climb, take the time to inspect your rope.
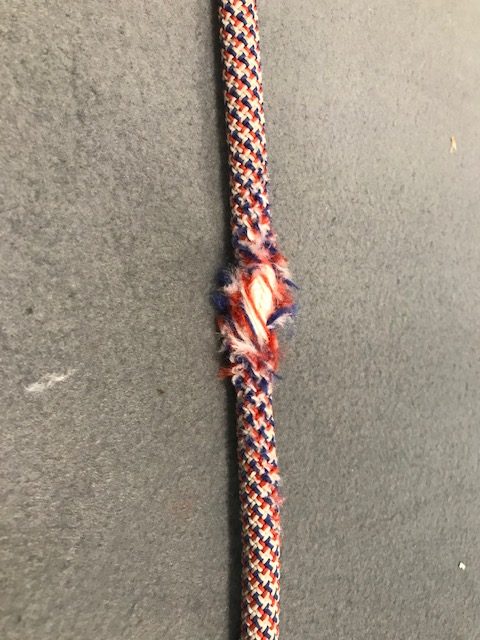
When inspecting rope, there are a few things to look out for. Visible damage could look like the following:
- Cuts
- Flat spots
- Stiffness
- Fuzziness
If any of these signs are present, take a closer look at your rope before climbing.
When should ropes be retired?
Ropes need to be retired even if they do not have visible damage. Always refer to the manufacturer’s recommendations, but this is the general lifespan of a rope under various use frequency:
- After an extreme fall or other damage: immediately
- Regular use (a few times per month): 1-3 years
- Rarely used (1-2 times per year): 7 years
- Never used: 10 years
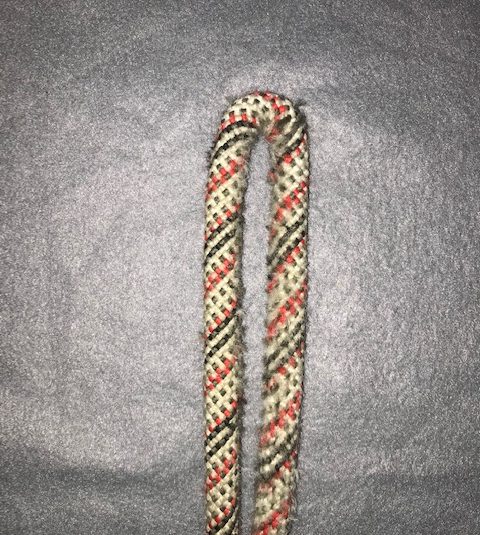
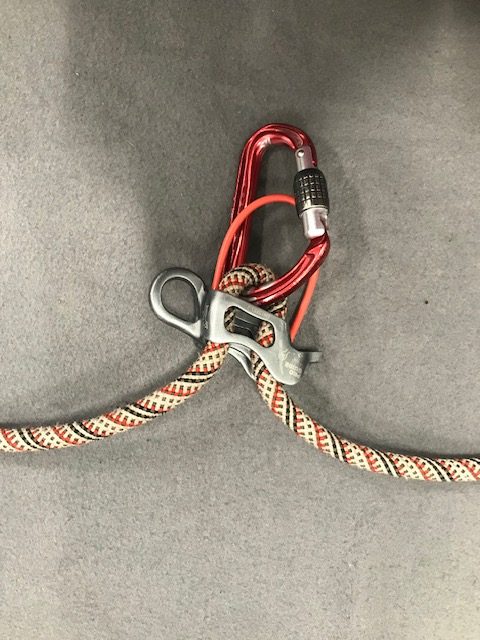
When taking a bight of rope this is known as a dead spot.
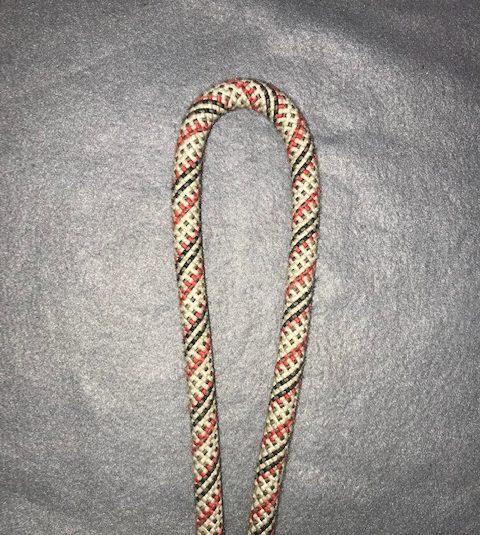
Both Strands should not touch each other if the rope is good.
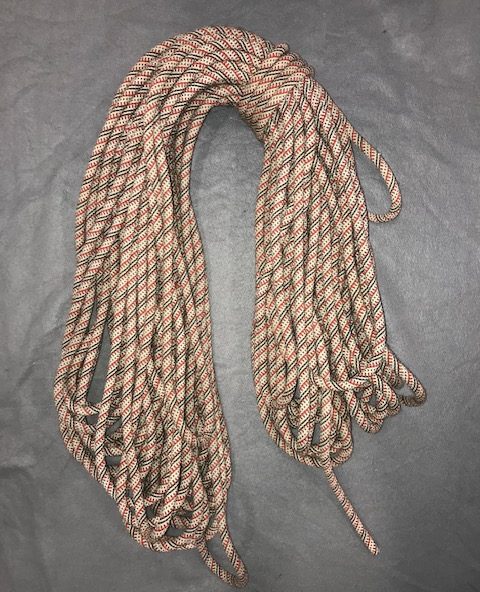
Storage
Once you finish your climb, it is important not to leave your rope in a jumbled mess that can easily get tangled. Instead, coil your rope so it looks like the finished coil (right). Keep these points in mind to maximize the life of your rope:
- minimize exposure to UV light
- use a rope bag
- wash your rope
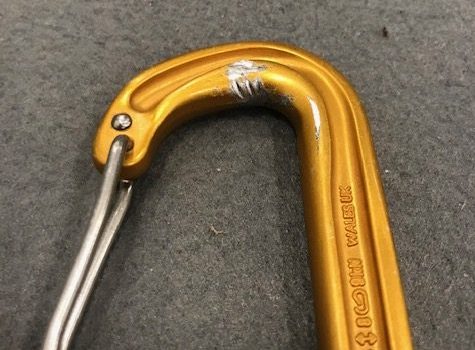
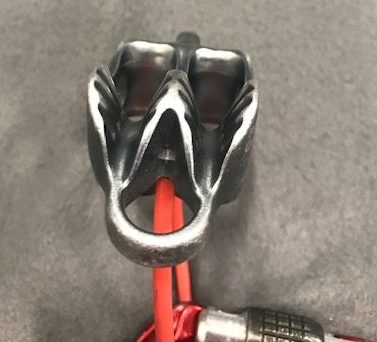
Another key component of any climbing system is the hardware. This includes carabineers, belay devices, etc.
When examing hardware, pay close attention for any of the following:
Belay Devices:
- Look and feel over the entire device
- Move any moving parts
- Look for any edges or grooves that may come in contact with the rope
Carabiners:
- Sharp edges that may come in contact with the rope
- Grooves deeper than 10% of the carabiner’s thickness
- Check gate action. Gate should close all the way when released