Basic First Aid
Disclaimer: This page is meant to be used as a refresher for someone who has already taken the appropriate first aid training. Please be mindful of your experience level.
Primary and Secondary Assessments:
When an accident happens, information about the injured person is crucial. There are two assessments necessary, Primary and Secondary Assessments. Remembering Primary and Secondary Assessments are a great way to make sure you check everything and stay organized in your assessments!
When handling a primary assessment, these are the first observations to look out for. This step is crucial to “Evaluate Risk to Life”. The outcomes of these assessments can become immediate threats to life.
A: Airway
B: Breathing
C: Circulation
D: Deformity/Disability
E: Environmental Concerns
During secondary assessments, you are searching for vitals and gathering information about the stability of the patient. Depending how the vitals are, a secondary assessment could quickly become a primary assessment if the patient becomes unstable.
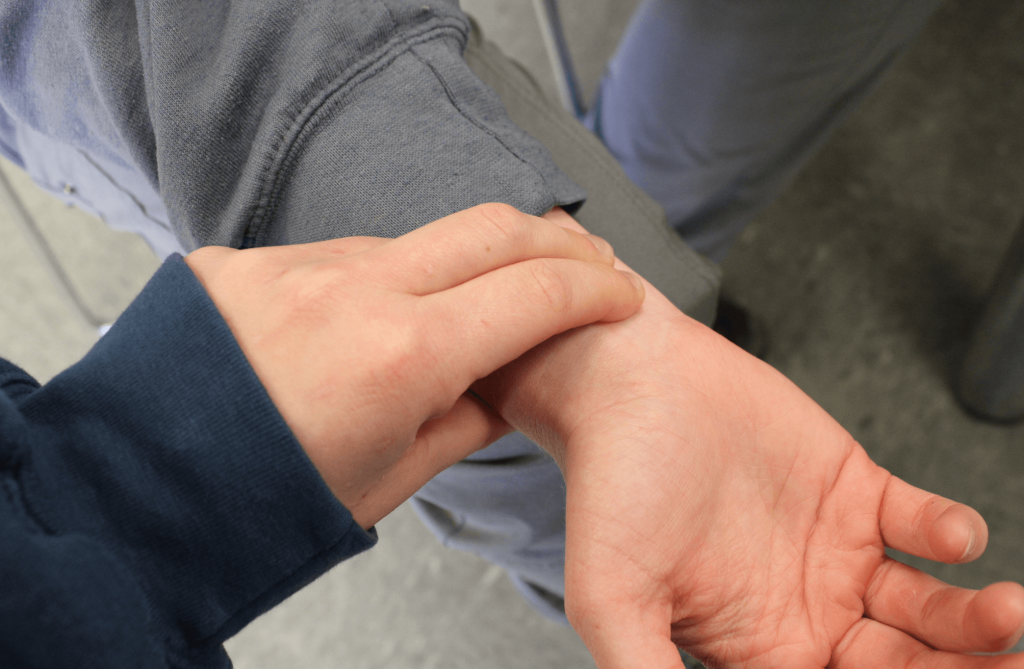
- Heart Rate
- Respiratory Rate
- Pupils
- Skin
- Blood Pressure
- Levels of Consciousness (LOC Alert x4)
Here are some items to consider for your first aid kit. Take into account the size of your group, the type of activities you’ll be doing, and how long your trip is.
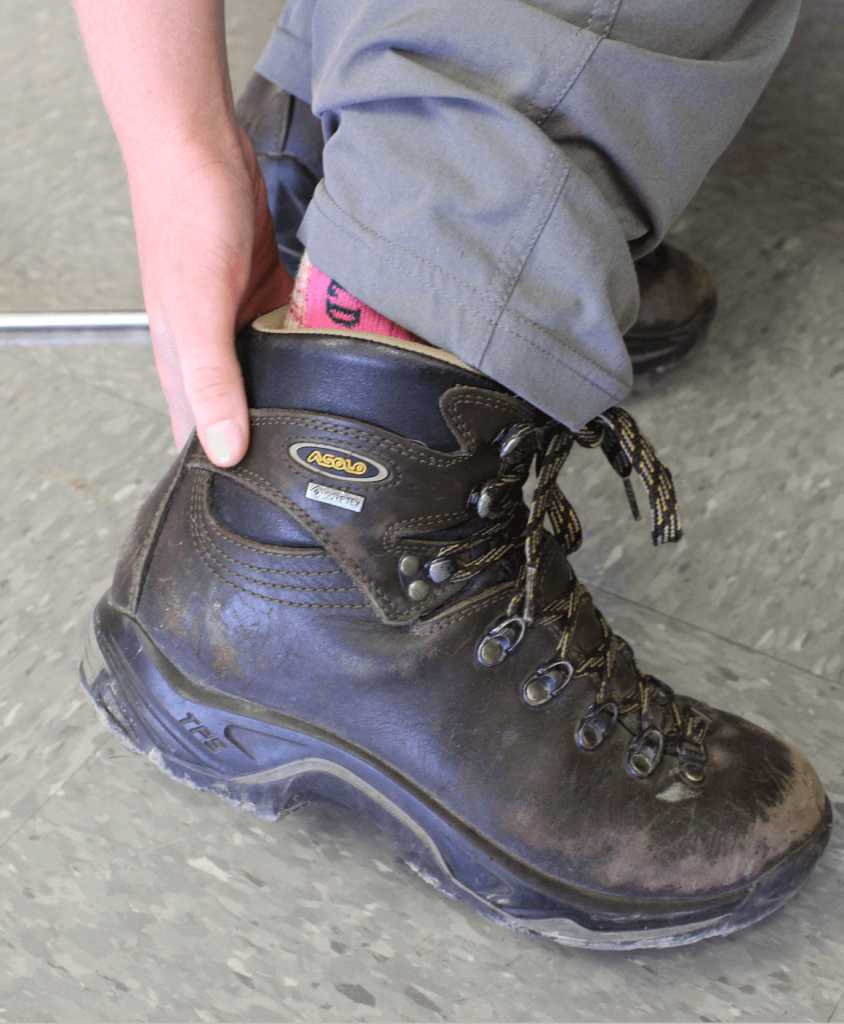
Blisters occur when skin is subjected to heat from friction. The thin layers of your skin can separate and fluid fills in the gap, forming a sac. An example of this is when you’re hiking and your heel rubs against the inside heel of a shoe.
Moleskin is a type of fabric that is commonly used to prevent as aggressive rubbing to your skin. If you already have a blister, try keeping the area clean and dry. A cool dressing could help to reduce swelling, but it’s best not to pop them unless absolutely necessary and done sterile and properly.
Test your Blister Prevention knowledge in our What to Wear section.
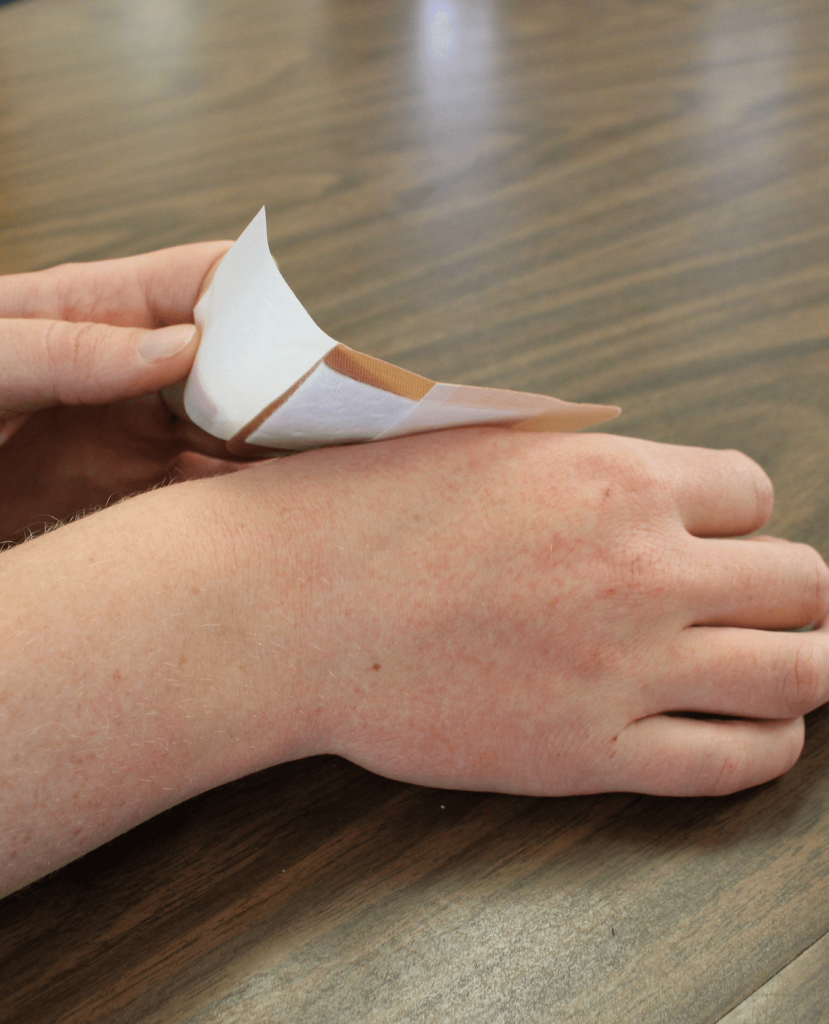
Cuts are super common, especially in the outdoors. Cuts can be Large, Medium, Small, or super bad, and there are bandages for all sizes!
You’ll want to make sure the cloth portion of the band aid is over the deepest part of the cut. It is important that the sticky side is not over the cut! This will hurt to pull off the bandaid at a later date. Gently press down on the adhesive side of the band aid and hold for three seconds, slowly rubbing back and forth to apply.
If it is a very minor scrape or scratch, a band aid might not be necessary. It goes as they say: no blood, no band aid!
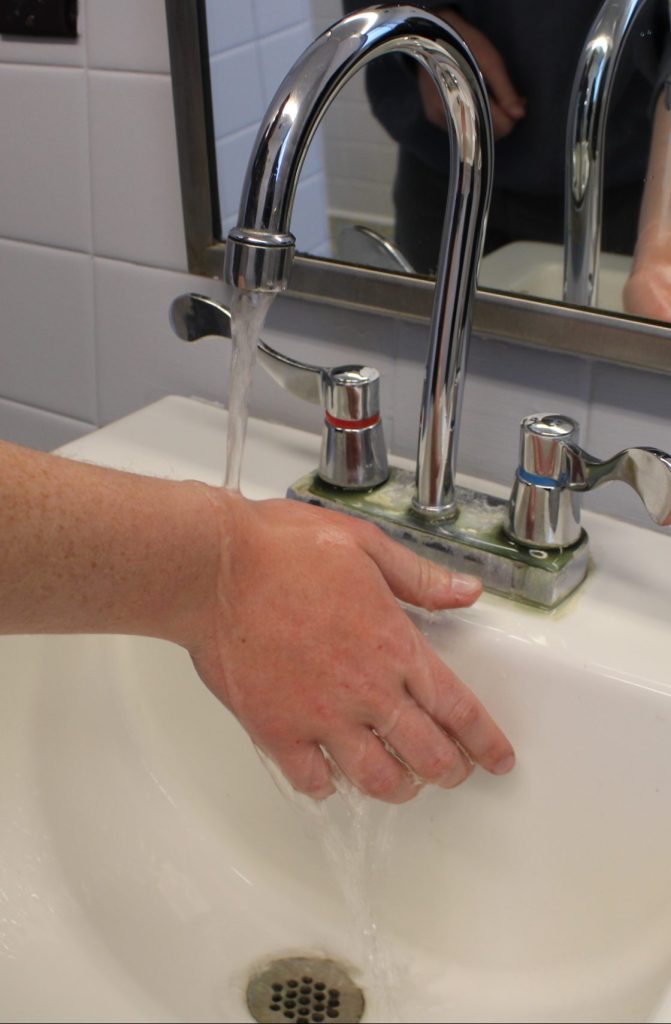
Burns can be extremely painful for any patient. Holding the burned area under cool, not cold, running water for approximately 10 minutes can help with the burning sensation. Continue until the burned area isn’t in pain. This will reduce swelling and pain. Depending on how serious the burn, it’s recommended to apply a thin layer of petroleum jelly two to three times a day until burn fully heals. Wrap the burn in a non-stick bandage and make sure to keep the burned area away from direct sunlight.
Cold water or ice directly is bad for burns because it can cause further damage to the skin tissue of and surrounding the burned area.
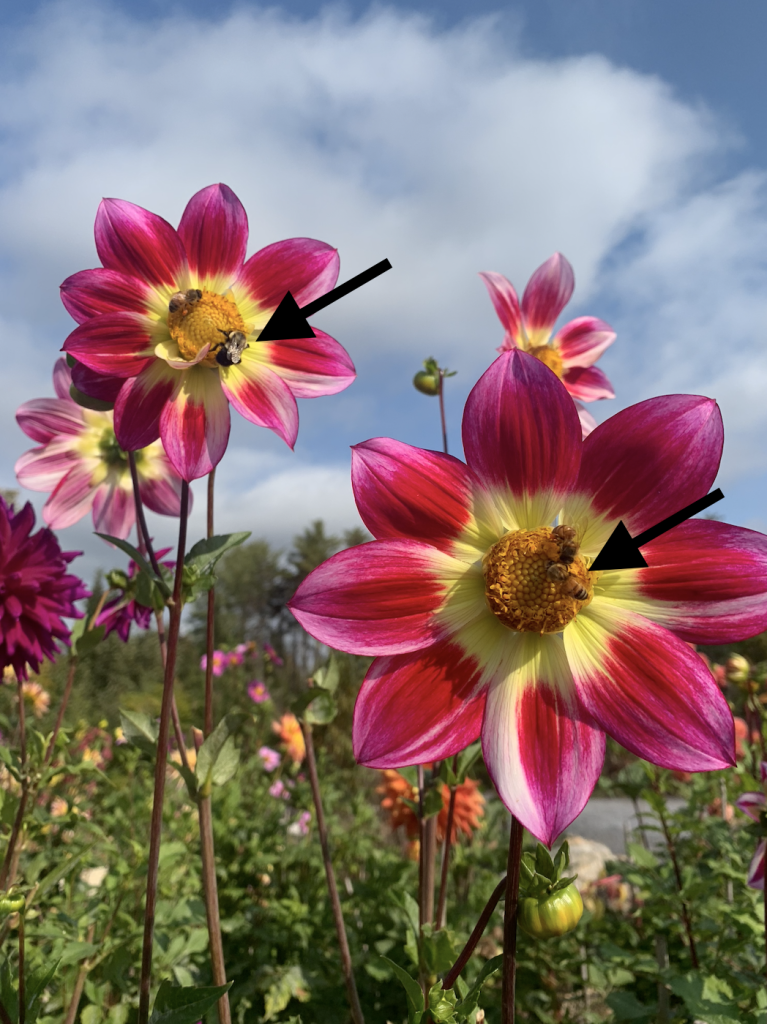
Using tweezers isn’t advised for taking out bee stings. Take a credit card, or the back of a knife or other straight-edged object, to scrape across the stinger. Continue to scrape the surface until the stinger is released from the skin. Once the stinger is out, wash the site thoroughly with soap and water.
Using tweezers could rupture the venom sac, further infecting the open wound. If symptoms progress or worsen over time, make sure to seek urgent care and primary professionals. Make sure to know if your participant is allergic to bees or not when treating.
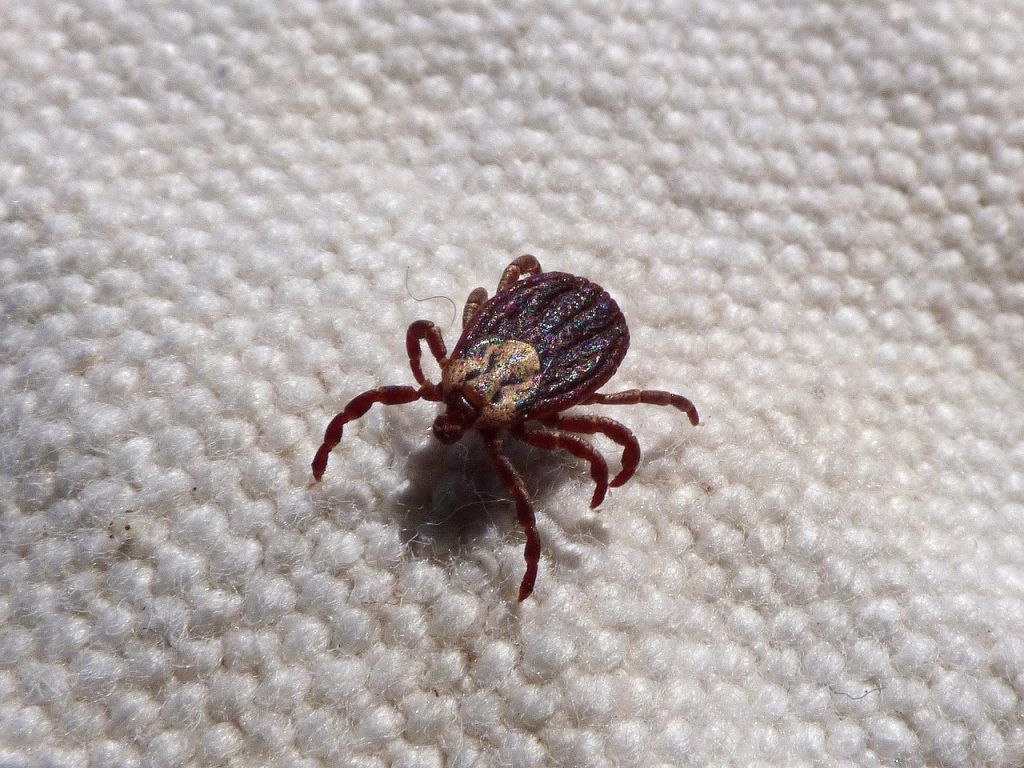
With tick removal, tweezers are a necessity. Grasp the tick as close to the skin’s surface as possible. Pull upwards with steady, even pressure. Make sure to grab the head of the tick during removal. This will lower risk of infection.
Once the tick is fully removed from the skin, thoroughly clean the bite area and your hands with rubbing alcohol or soap and water. Here are some ways to dispose of the tick:
Recommended: Flushing it down the toilet, wrapping it completely in tape and throwing it in the trash, and suffocating the tick in a glass jar with rubbing alcohol.
Not Recommended: Washing it down the drain, crushing it with your fingers, throwing away in the trash, putting it back outside.
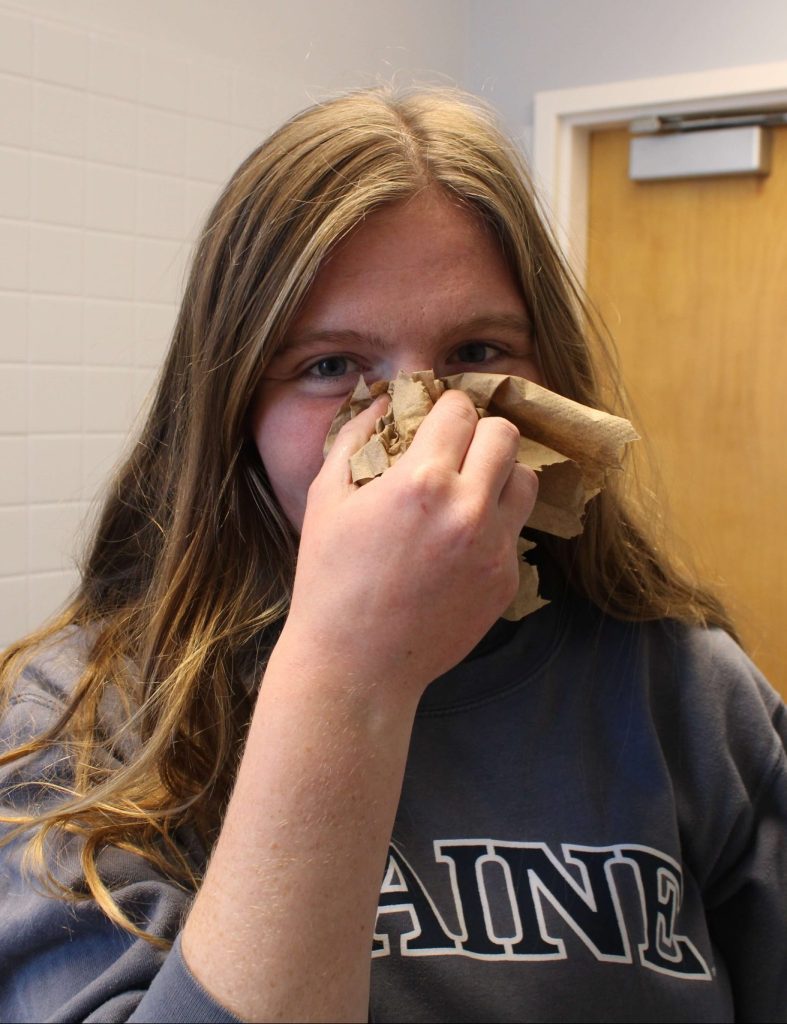
Nosebleeds, if left untreated, can cause emergencies such as fainting, obstruction of airways, and significant blood loss. If someone is experiencing a nose bleed, have them sit up straight and lean their heads forward slightly. Firmly pinch the soft part of your nose, just under the bridge of your nose, for at least 10 to 15 minutes, or until the bleeding stops.
Make sure to breathe out of your mouth for another 10-15 minutes, until the patient is sure their wound won’t rupture again. Common causes of nosebleeds may be caused by: Infection, injury, allergic reaction, nose picking, or an object being pushed into the nostril.
