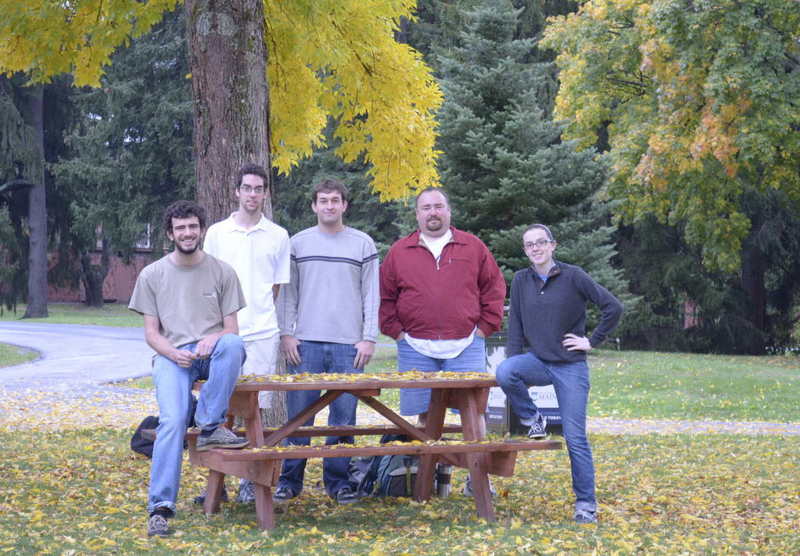
Stand Up Paddleboard Simulator Team
Recent Updates
5-1-13 MAINE DAY! Today we presented our final project. It was a beautiful Maine 80 degrees out. We showed how our project worked out in Cloke Plaza to all of our professors, parents and any students that were interested.
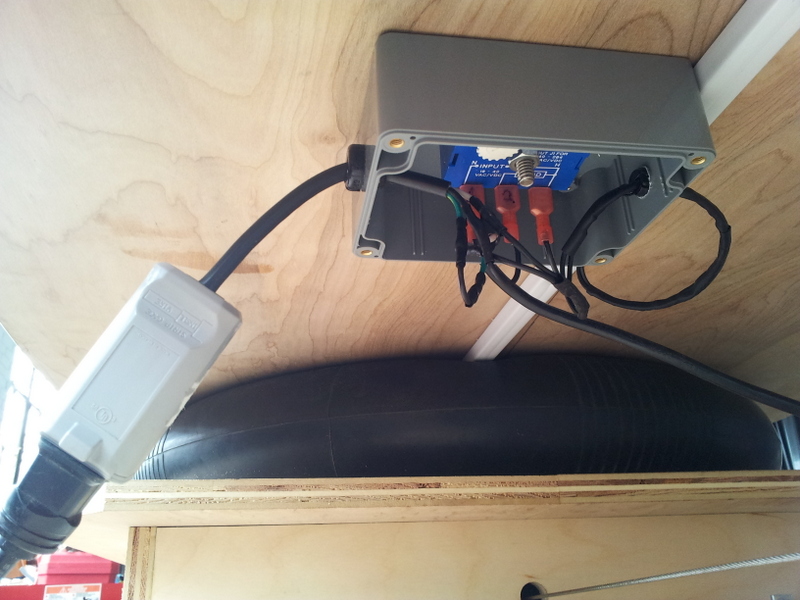
4-22-13 Today we began to work on our final assembly. Jon and Katie worked on the wiring of the board. They had help from EET department to get the wiring working correctly. Aaron, John and Jake took a drive down to sears to pick out a drill with the proper specifications so the board would run smoothly.
4-16-13 After re-enforcing the board to lessen bending, we are ready to test the board with a drill and our new pivot arm assembly! The recent improvements are proving to be getting us closer and closer to our goal. The board operates much more smoothly and is quite enjoyable to ride on!
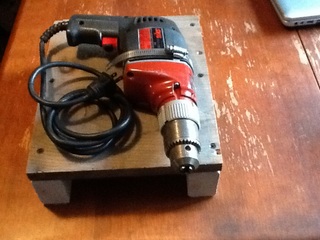
4-15-13 The team has decided to do testing in the areas of switch reliability, switch placement, board deflection given a load, and user enjoyment. With the drill taking longer to arrive than we expected, we have bought a different drill for testing that should allow us to observe general user experience that we will then repeat when our drill arrives.
4-12-13 Anxiously awaiting our drill’s arrival, we are developing a series of tests to perform on the simulator to ensure that it will work consistently, as intended. Today we tested the board for bending and determined that it needed re-enforcement.
4-9-13 After much research and a few trips to the hardware store, a low rpm, higher torque drill has been ordered as well as an external drill speed controller. We can’t wait for it to arrive to test it on our new pivot arm assembly.
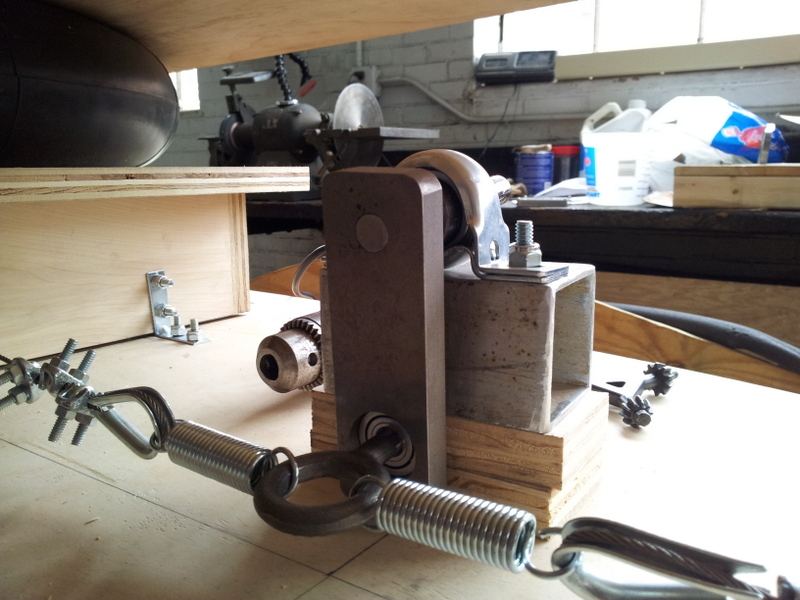
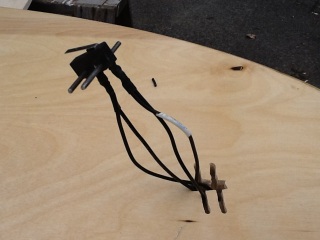
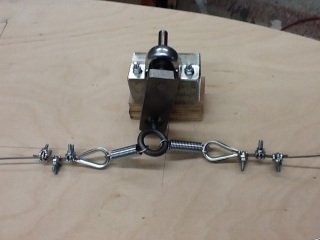
4-4-13 Jake and John have taken the springs off of our pulley system to try to take some of the ‘snap’ out of the motion. It is a definite improvement but we are looking at ways to modify our crank arm for a possible pivot arm attachment that will push and pull on the front of the board rather than operate the pulley system. We have set the deadline for ourselves that there will be a drill picked out by Friday, April 5th.
3-27-13 After running the SUP simulator, it is clear that we have our work cut out for us. So far, the motion is jerky and needs to be slowed down considerably. The team has put all of their efforts into finding the perfect motor as this seems to be our biggest and most important challenge. The drills that we have tested with have proven to be unreliable at low speeds and do not provide enough consistent torque. Katie is working on developing a new timing circuit that will allow the timer to trigger a motor with a higher current draw.
3-19-13 John, Jake, and Aaron worked on finishing the assembly of the simulator and running the simulator for the first time.
3-18-13 Over break Aaron and Katie spent time assembling the SUP simulator. Here are some of the photos!
3-6-13 Katie and Aaron spent the day drilling holes for mounting hardware and beginning to assemble the passive (non-wave simulating) aspects of the design. They made a lot of progress and will be meeting more over break to continue the assembly process. Pictures to follow! 3-1-13On the last day before spring break, Jake and John spent the afternoon finishing the crank assembly while the rest of the team worked on the pulley mounting brackets.
2-28-13 The team spent the day finishing up the last bits of machining to be done for the project so that assembly could the upcoming spring break. Thanks to a generous donation from Lowes, we now have more high grade birch plywood. Katie and Aaron cut out the matching base and sanded it smooth.
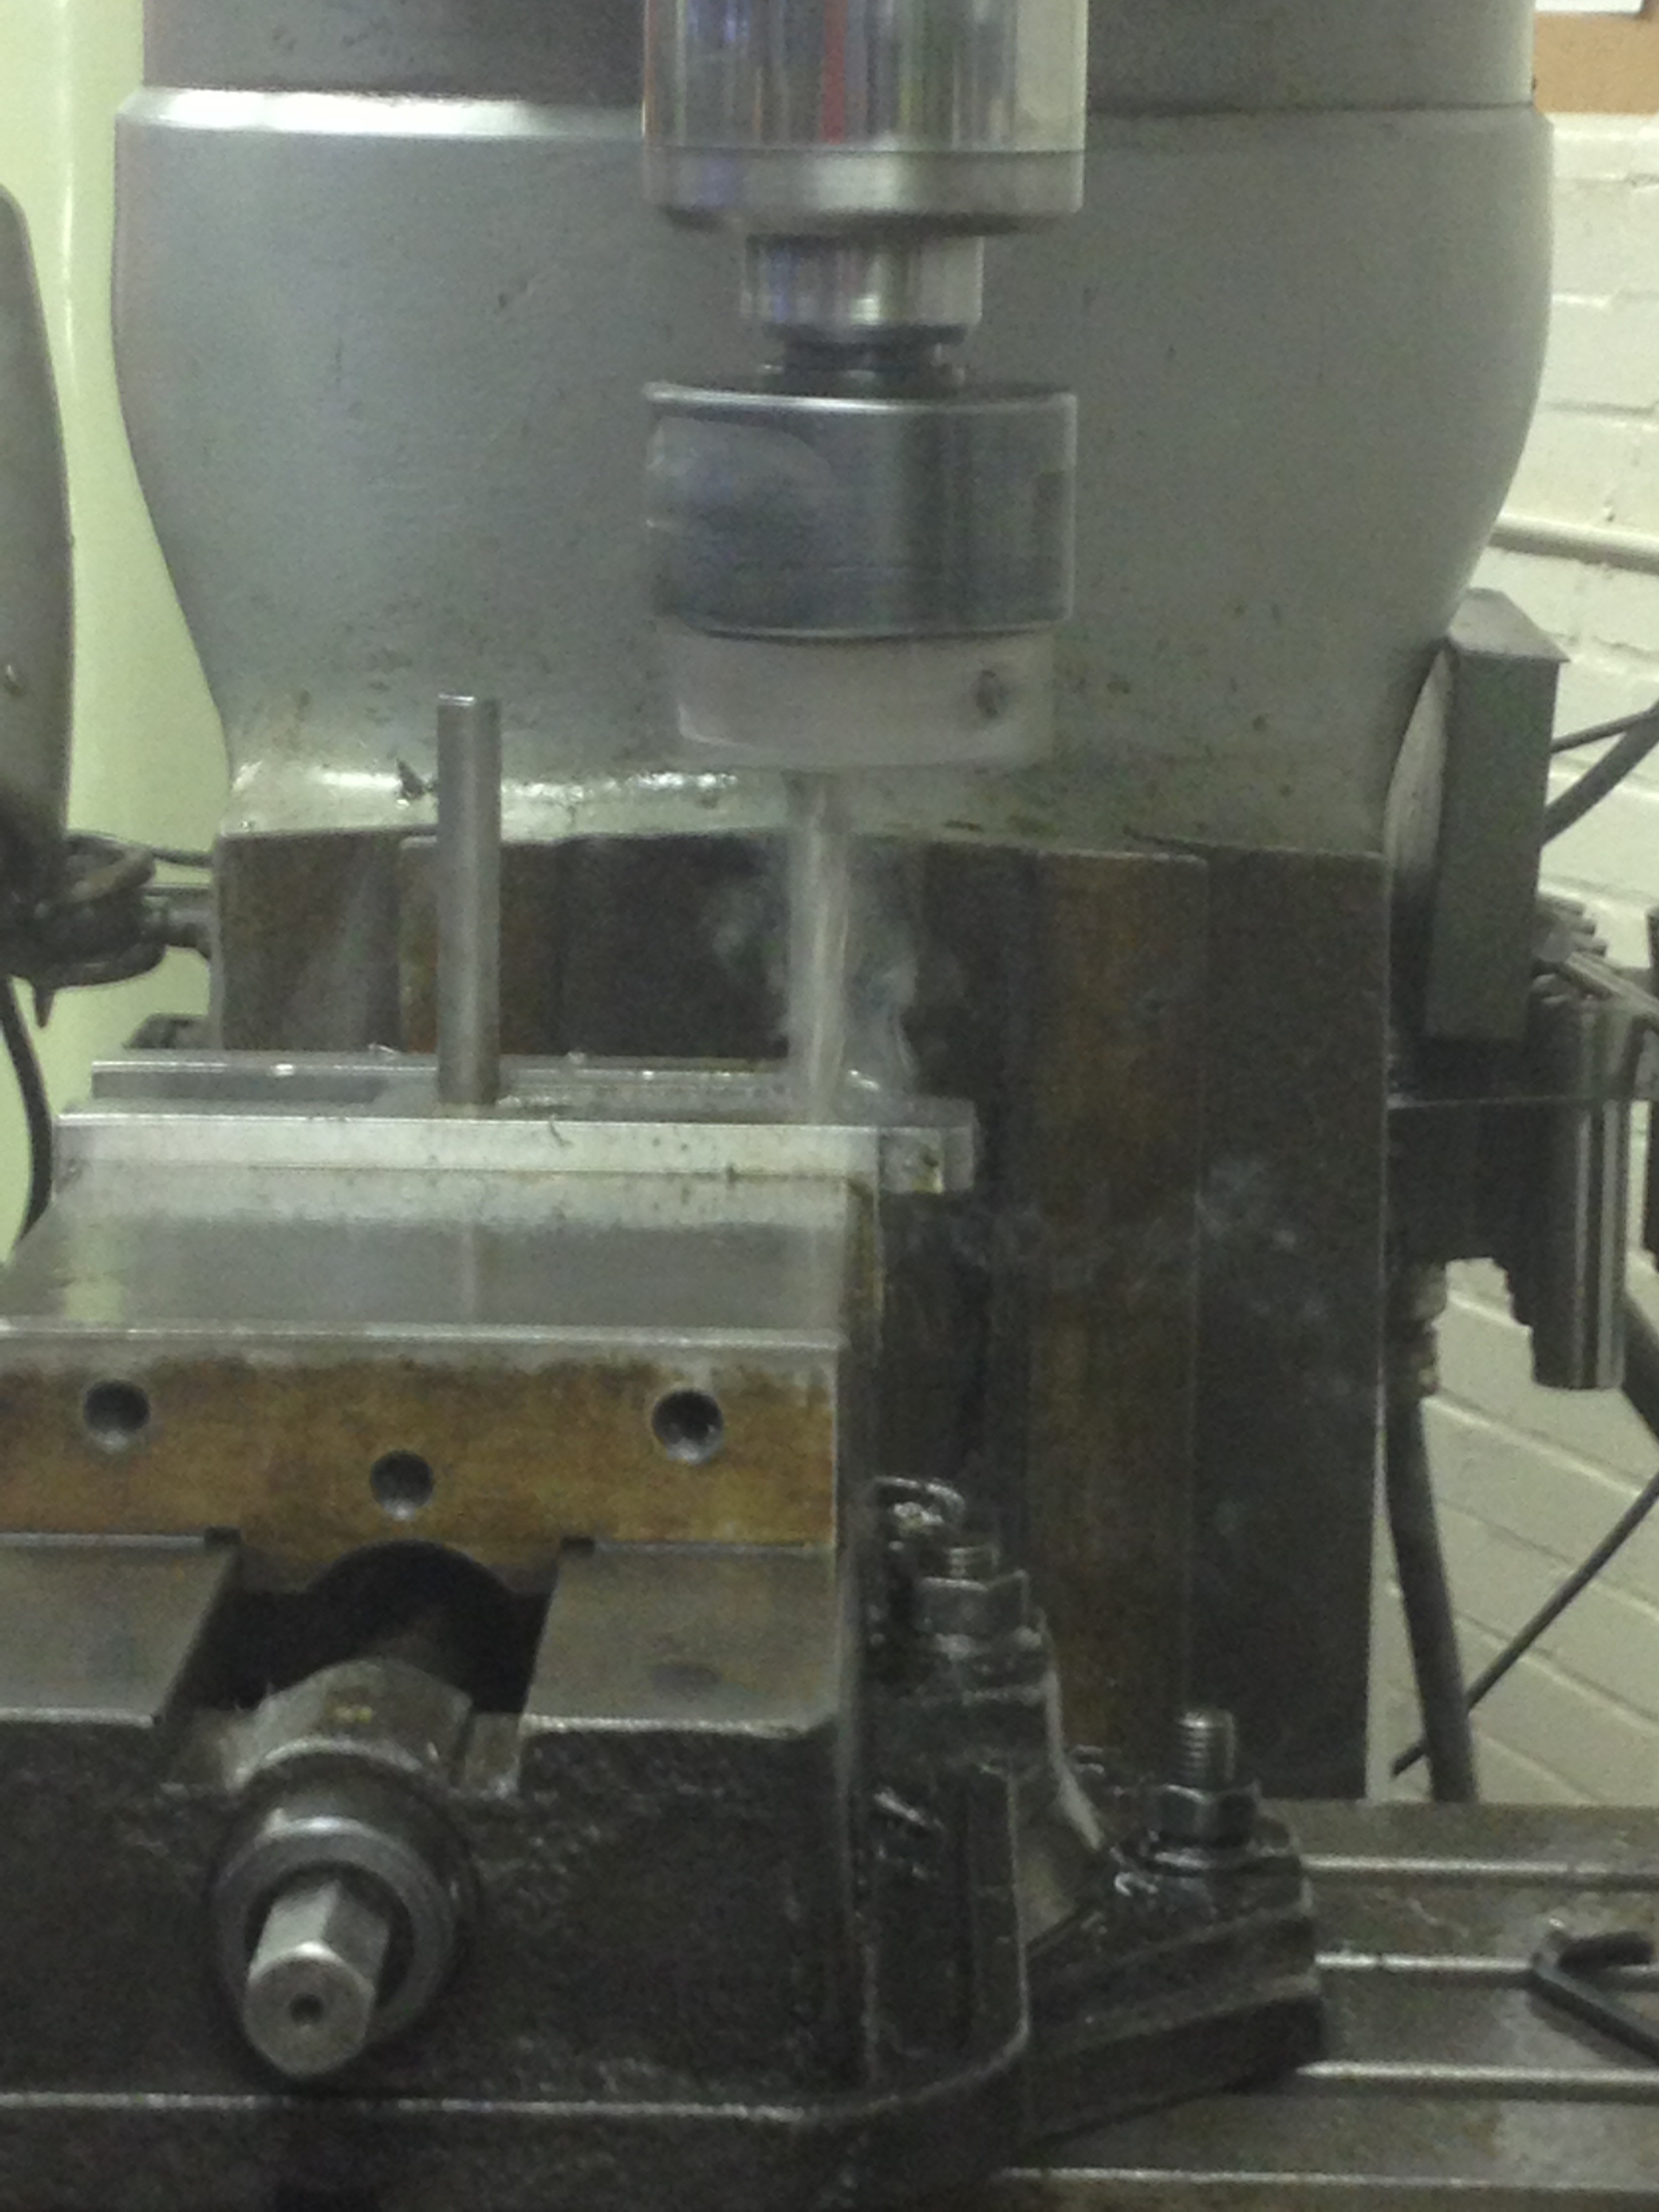
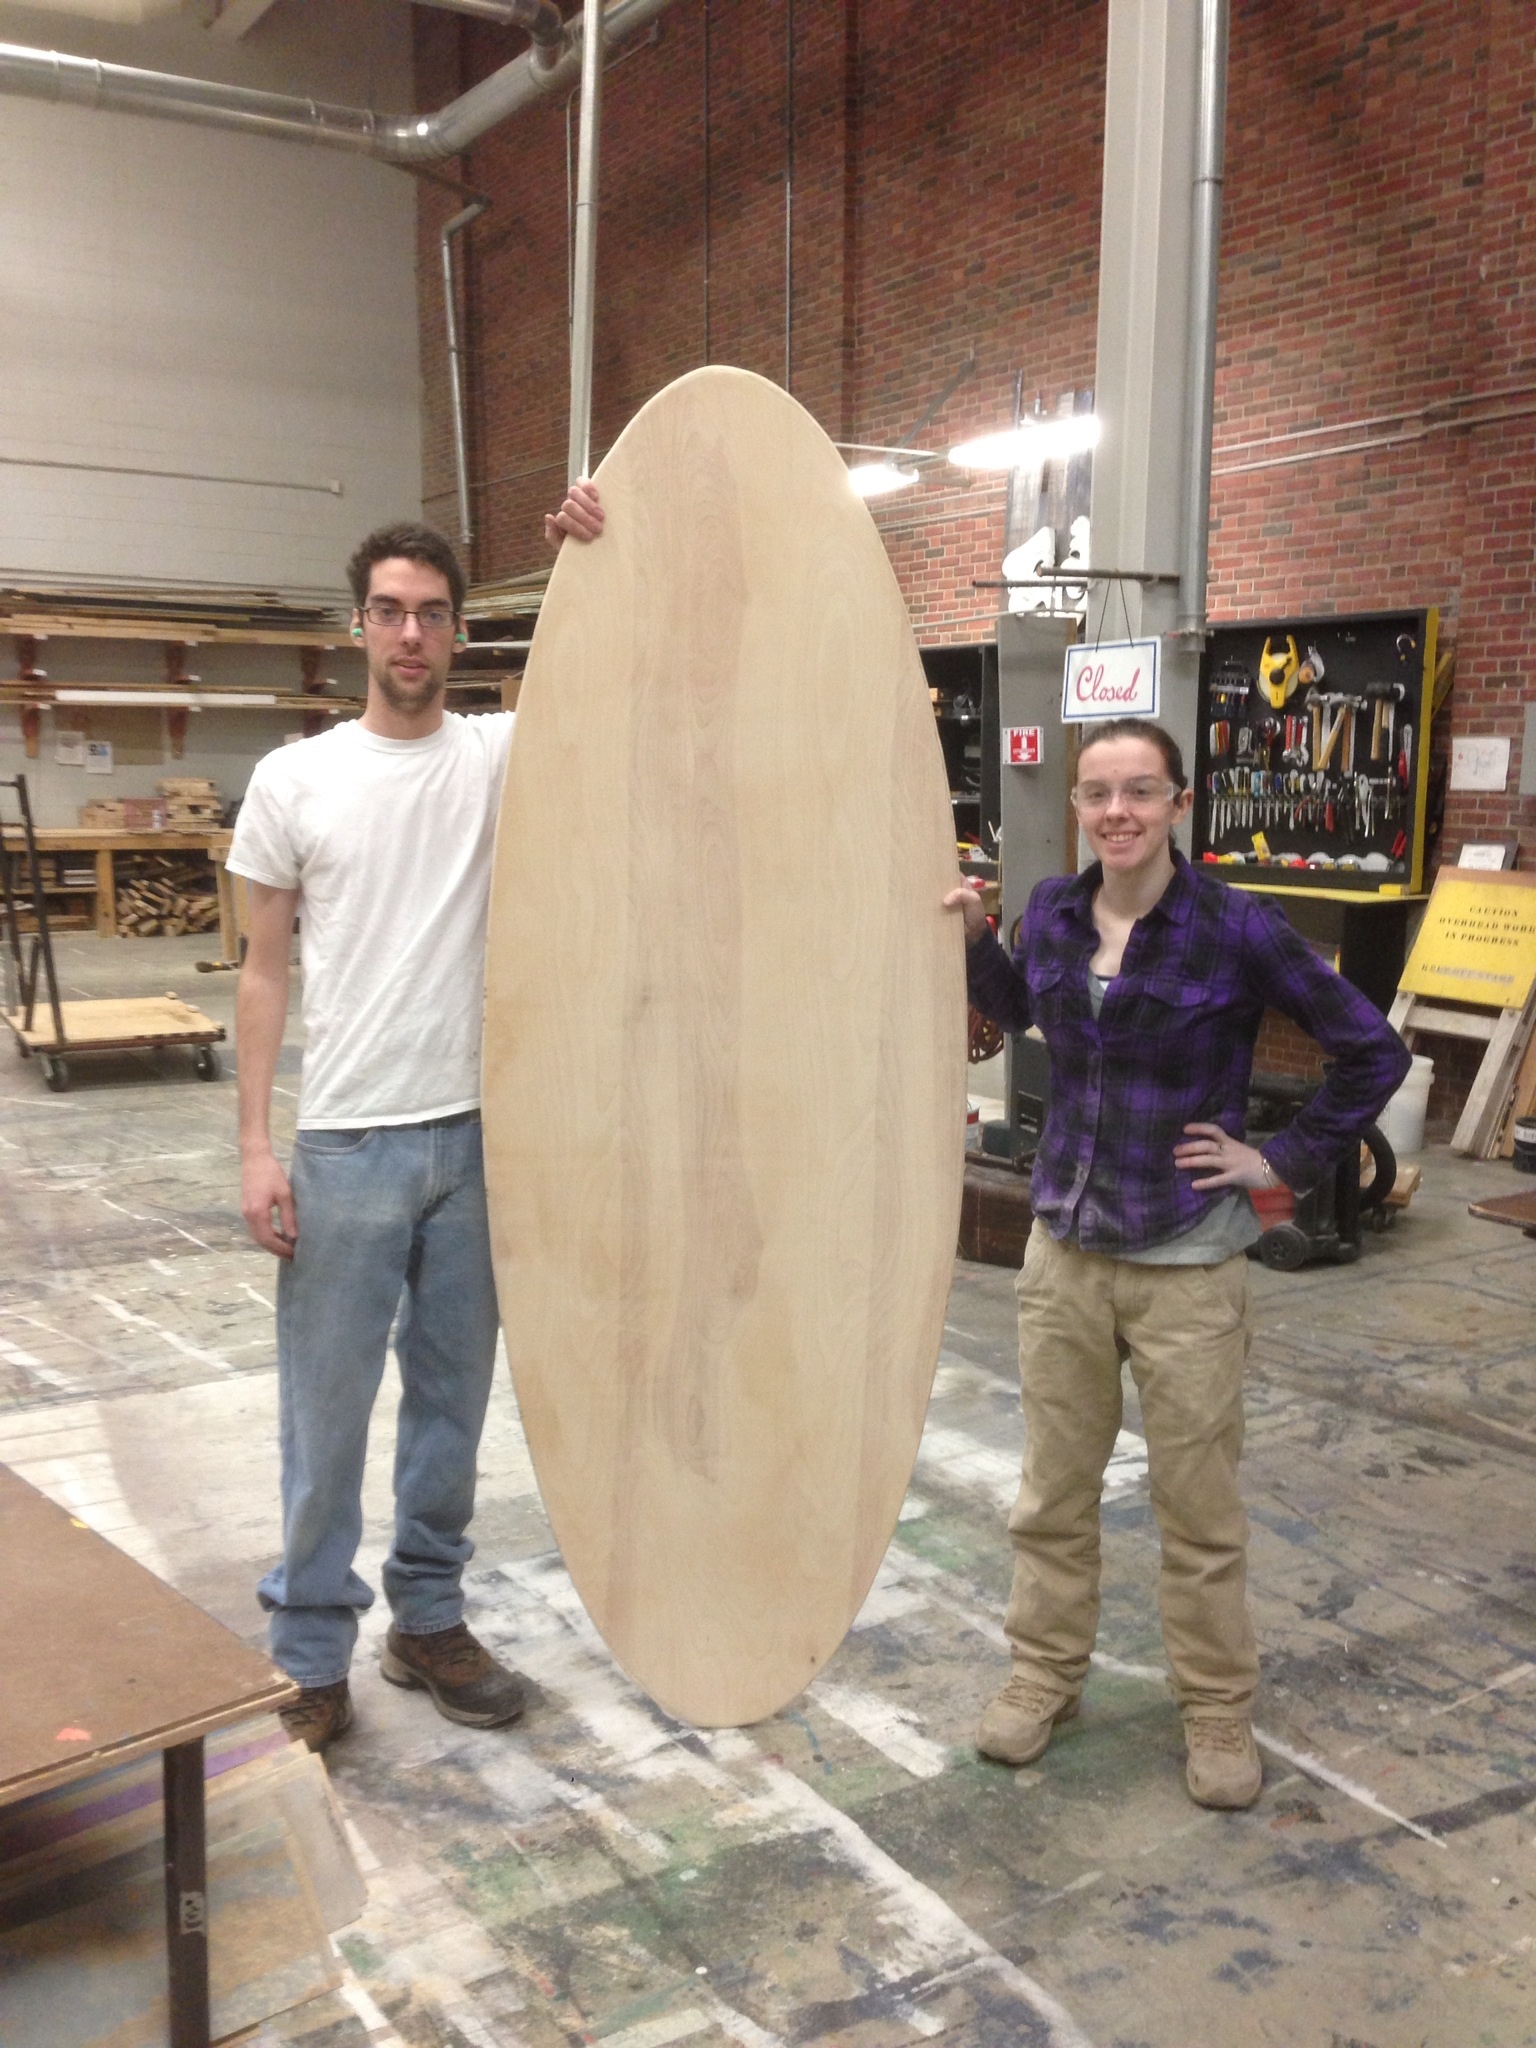
2-26-13 Aaron has been hard at work this week putting a polyurethane coating on the board to prevent splintering and protect the board from moisture. As our parts order came in this week, we are finishing up some machining on our plates, and beginning the assembly process. Stay tuned for more photos and updates! 2-21-13Jon, John and Jake spent the day working on machining the plates to be used for attaching the u-joint to the center of our board. Meanwhile, Katie and Aaron drove out to pick up a great looking sheet of 3/4″ shop grade birch plywood from our friends at Hammond Lumber! Jon joined them for marking out the shape, cutting out the board, and routering a 1/2″ round on the top edge.
2-3-13
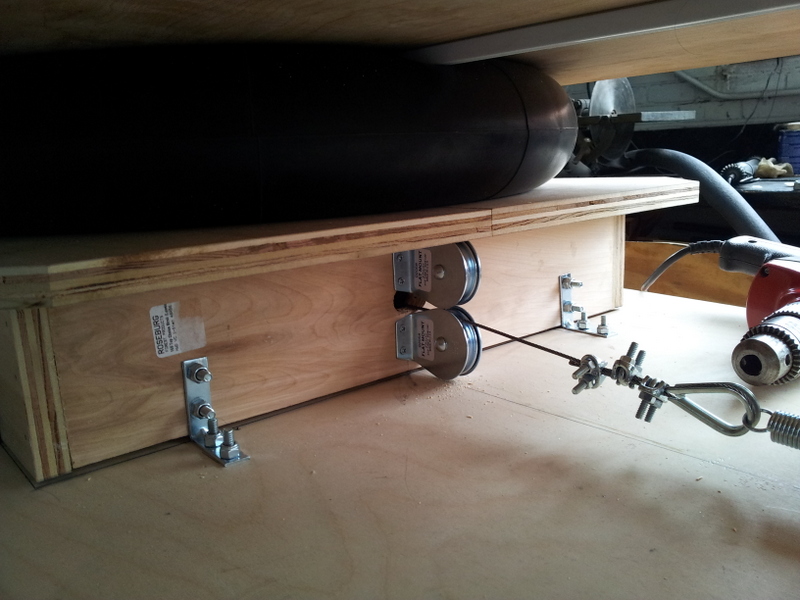
The third week back was the most productive week we’ve had in a long time. Katie came to the conclusion that the electro-magnet idea was going to be more trouble than it is actually worth, so we decided to scrap that idea and go forward with a more mechanical approach. We’ve decided to go in a route that involves pulleys and springs attached to a motor that will make the board simulate a wave that goes up and down a total of 4-6″. This idea is simple enough that it will be very cost efficient. It will still do everything that the electromagnet concept did, but at a much cheaper price. We have also ordered all the necessary parts and will start to build the SUP simulator once they start to arrive.
1-28-13 The second week back was devoted to making sure that we knew what was due for the first logbook of the second semester. The big area of concentration was the project management plan (PMP). The PMP is a useful tool to help us stay on track throughout the rest of the year. Another area that is new, is a patentable idea. Katie did her electro-magnetics idea, Aaron did a write up on using an inner-tube and universal joint and Jake & John did their’s on a circular track that has a weight that revolves around in a circle to offset the balance. 1-21-13 After a long, relaxing and much needed Holiday break we got back together for the home stretch of year. After having three weeks off, we all felt like it was still a good idea to go ahead with two different projects. Katie and Jon will still be doing the electro-magnetics concept. John and Jake will continue to go at a more conventional approach using motors. Aaron will be helping out where he is needed the most. Aaron was able to secure us some rubber springs that will allow the board to have some up and down give. This was made possible by the friendly people over at Fabreeka. 12-10-12 This week we spent a lot of time discussing different ways to make the SUP sim Board simulate a wave. In the end we decided that it would be best if we split into three groups. Katie and Jon are going to be exploring our most creative design strategy. They will try to use electro-magnetics that have a force up to 300 pounds. Jake and John will be using two compact gear motors to power the paddle board. This idea will most likely be our back up idea in case the electro-magnetics do not work. Aaron will be working on perfecting the passive component of the SUP simulator. He will be doing this by finding a suitable board material and finding a smaller, less expensive universal joint. 12-3-12 After reviewing our bill of materials, we realized that the universal joint might not be the most cost efficient method. We are looking into alternative ways to simulate the motion of the U-Joint without all the unnecessary costs. We have also entertained the idea of finding an alternative to PLC’s. Katie has started looking into different ways to make the SUPsim motorized but has not made a final decision on it.
About the project
History
Although paddleboards have been used in Hawaii for hundreds of years, Thomas Edward Blake is credited with creating the first modern version. He accomplished this by taking a traditional solid paddle board and drilling many holes in it, then covering the whole board so it would be lighter and faster than its historic counterparts. Today, stand up paddleboarding is becoming increasingly popular and is used for many activities such as racing, recreational use, and for yoga.
Paddle board yoga
Over the past few years, people have been combining yoga and paddleboarding so they can increase their core workout and increasing the challenge for those who have already mastered yoga positions before. Because of the balance required to hold a position while floating on the water, smaller muscles have to be used as well which produces a more complete workout.
Our goal
Due to the weather people are unable to practice their paddle board yoga year round, our team plans to design and build a working paddleboard simulator that can be used indoors. This prototype will be able to simulate the feeling of being on the water with up to six inch waves to recreate the same conditions. Because of this motion, we will need to focus on safety on and around the paddleboard
Product Specifications
Material Cost: Under $500 Board Dimensions: 30” Wide X 7’ Long x 3/4” Thick Base Footprint: 24” Wide x 48” Long Total Height: 8” Total Weight: Less than 75lbs Electrical Requirements: Standard household Voltage (120 V, 115A), UL listed equipment only User Weight: Max load not to exceed 250lb Wave height: 6 inches peak to valley (3 inches up, 3 inches down) Inner Tube Inner Diameter: 16” Features:
- 6 inch wave height (3 inches up, 3 inches down)
- Ideal for fitness, Yoga, and Pilates
- Works core body strength to maintain balance
- Simulated feeling of being on the water
- Safe for young children (with supervision)
- Comfortable, thick, yoga mat surface
- Ability to turn off/on “waves”
- Sensor to detect when user has fallen off
- Soft, round edges allow more comfortable handling and use
- Stackable
- Meets or exceeds current safety and electrical codes
Bill Of Materials The bill of materials documents all the parts that we are going to use, the price of the part, a link where to buy the part, the dimensions and the part number. It is a simple way for us keep all the technical information on one page. It also allows use to see where we are spending too much money. Project Management PlanIn order to make sure that we are on schedule with our build, we have made a project management plan. This plan lists everything that we need to accomplish in order to get the SUP simulator running. The plan has a few different sections. Each task is given an engineer who will complete the task, estimated time to complete, actual time to complete, estimated completion date and actual completion date. After those five sections, there is a horizontal bar graph representing, estimated completion date and actual completion date. The graph is accompanied by a key describing the different colors. If we can keep up with this plan, then we should not have any problems from here on out.
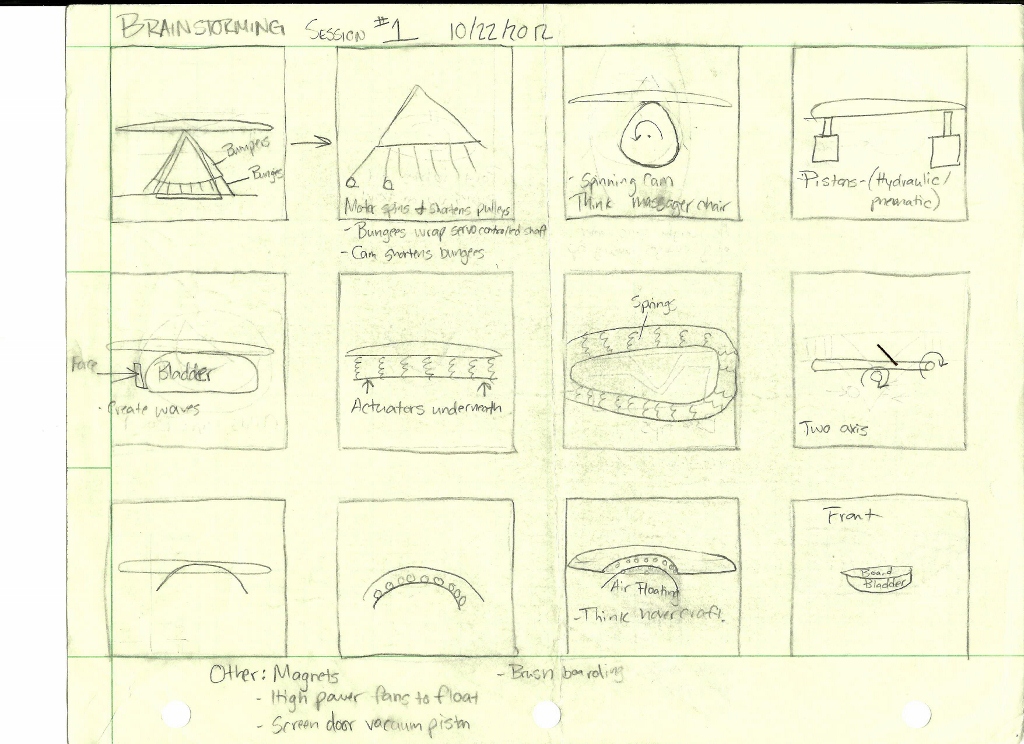
Brainstorming
One of the first tasks our team accomplished was to sketch up numerous “simplistic” designs to decide which route we wanted to take in the design and building of our project. We held three separate brainstorming sessions with team members as well as students from outside organizations. Brainstorming Design 1 was the original concept we decided to use for our mockup however, that was changed as can be seen in our mockup section. Brainstorming Video Link: Brainstorming

Field Research
October 29,2012 was the first time we were able to gain access to the Wallace Pool Facility and research firsthand how paddleboards react in the water. This gave us a significant amount of insight into the dynamics of a paddleboard. The following link shows some footage of our field research: Video Link: Paddleboard Field Research Results:We were surprised at how little the boards moved from the nose to the tail compared to the side-to-side movement. It was also interesting that the boards were relatively stable once the user had reached the standing position and established the balance point of the board.
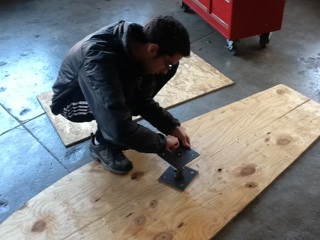
Mockup Building
Our next step was to develop a working model of our design. This allows us to view what ideas will and will not work. It also gives us a larger physical object that we can manipulate and possibly draw other design ideas from.
Build Photos:
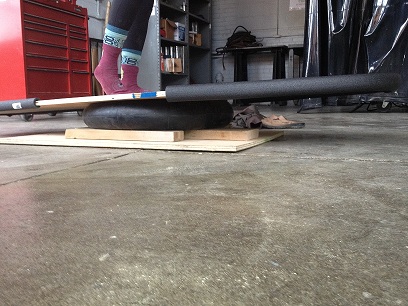
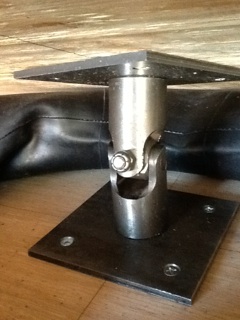
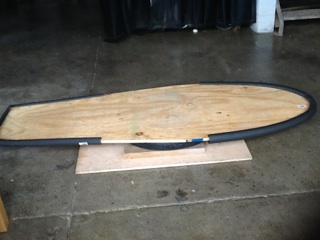
Mockup Testing:
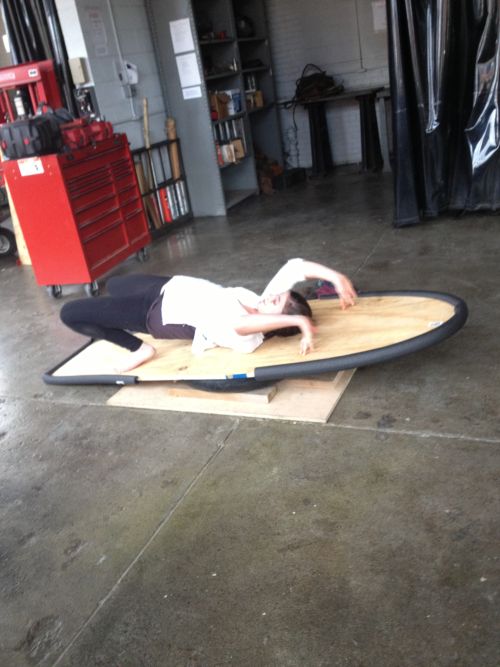
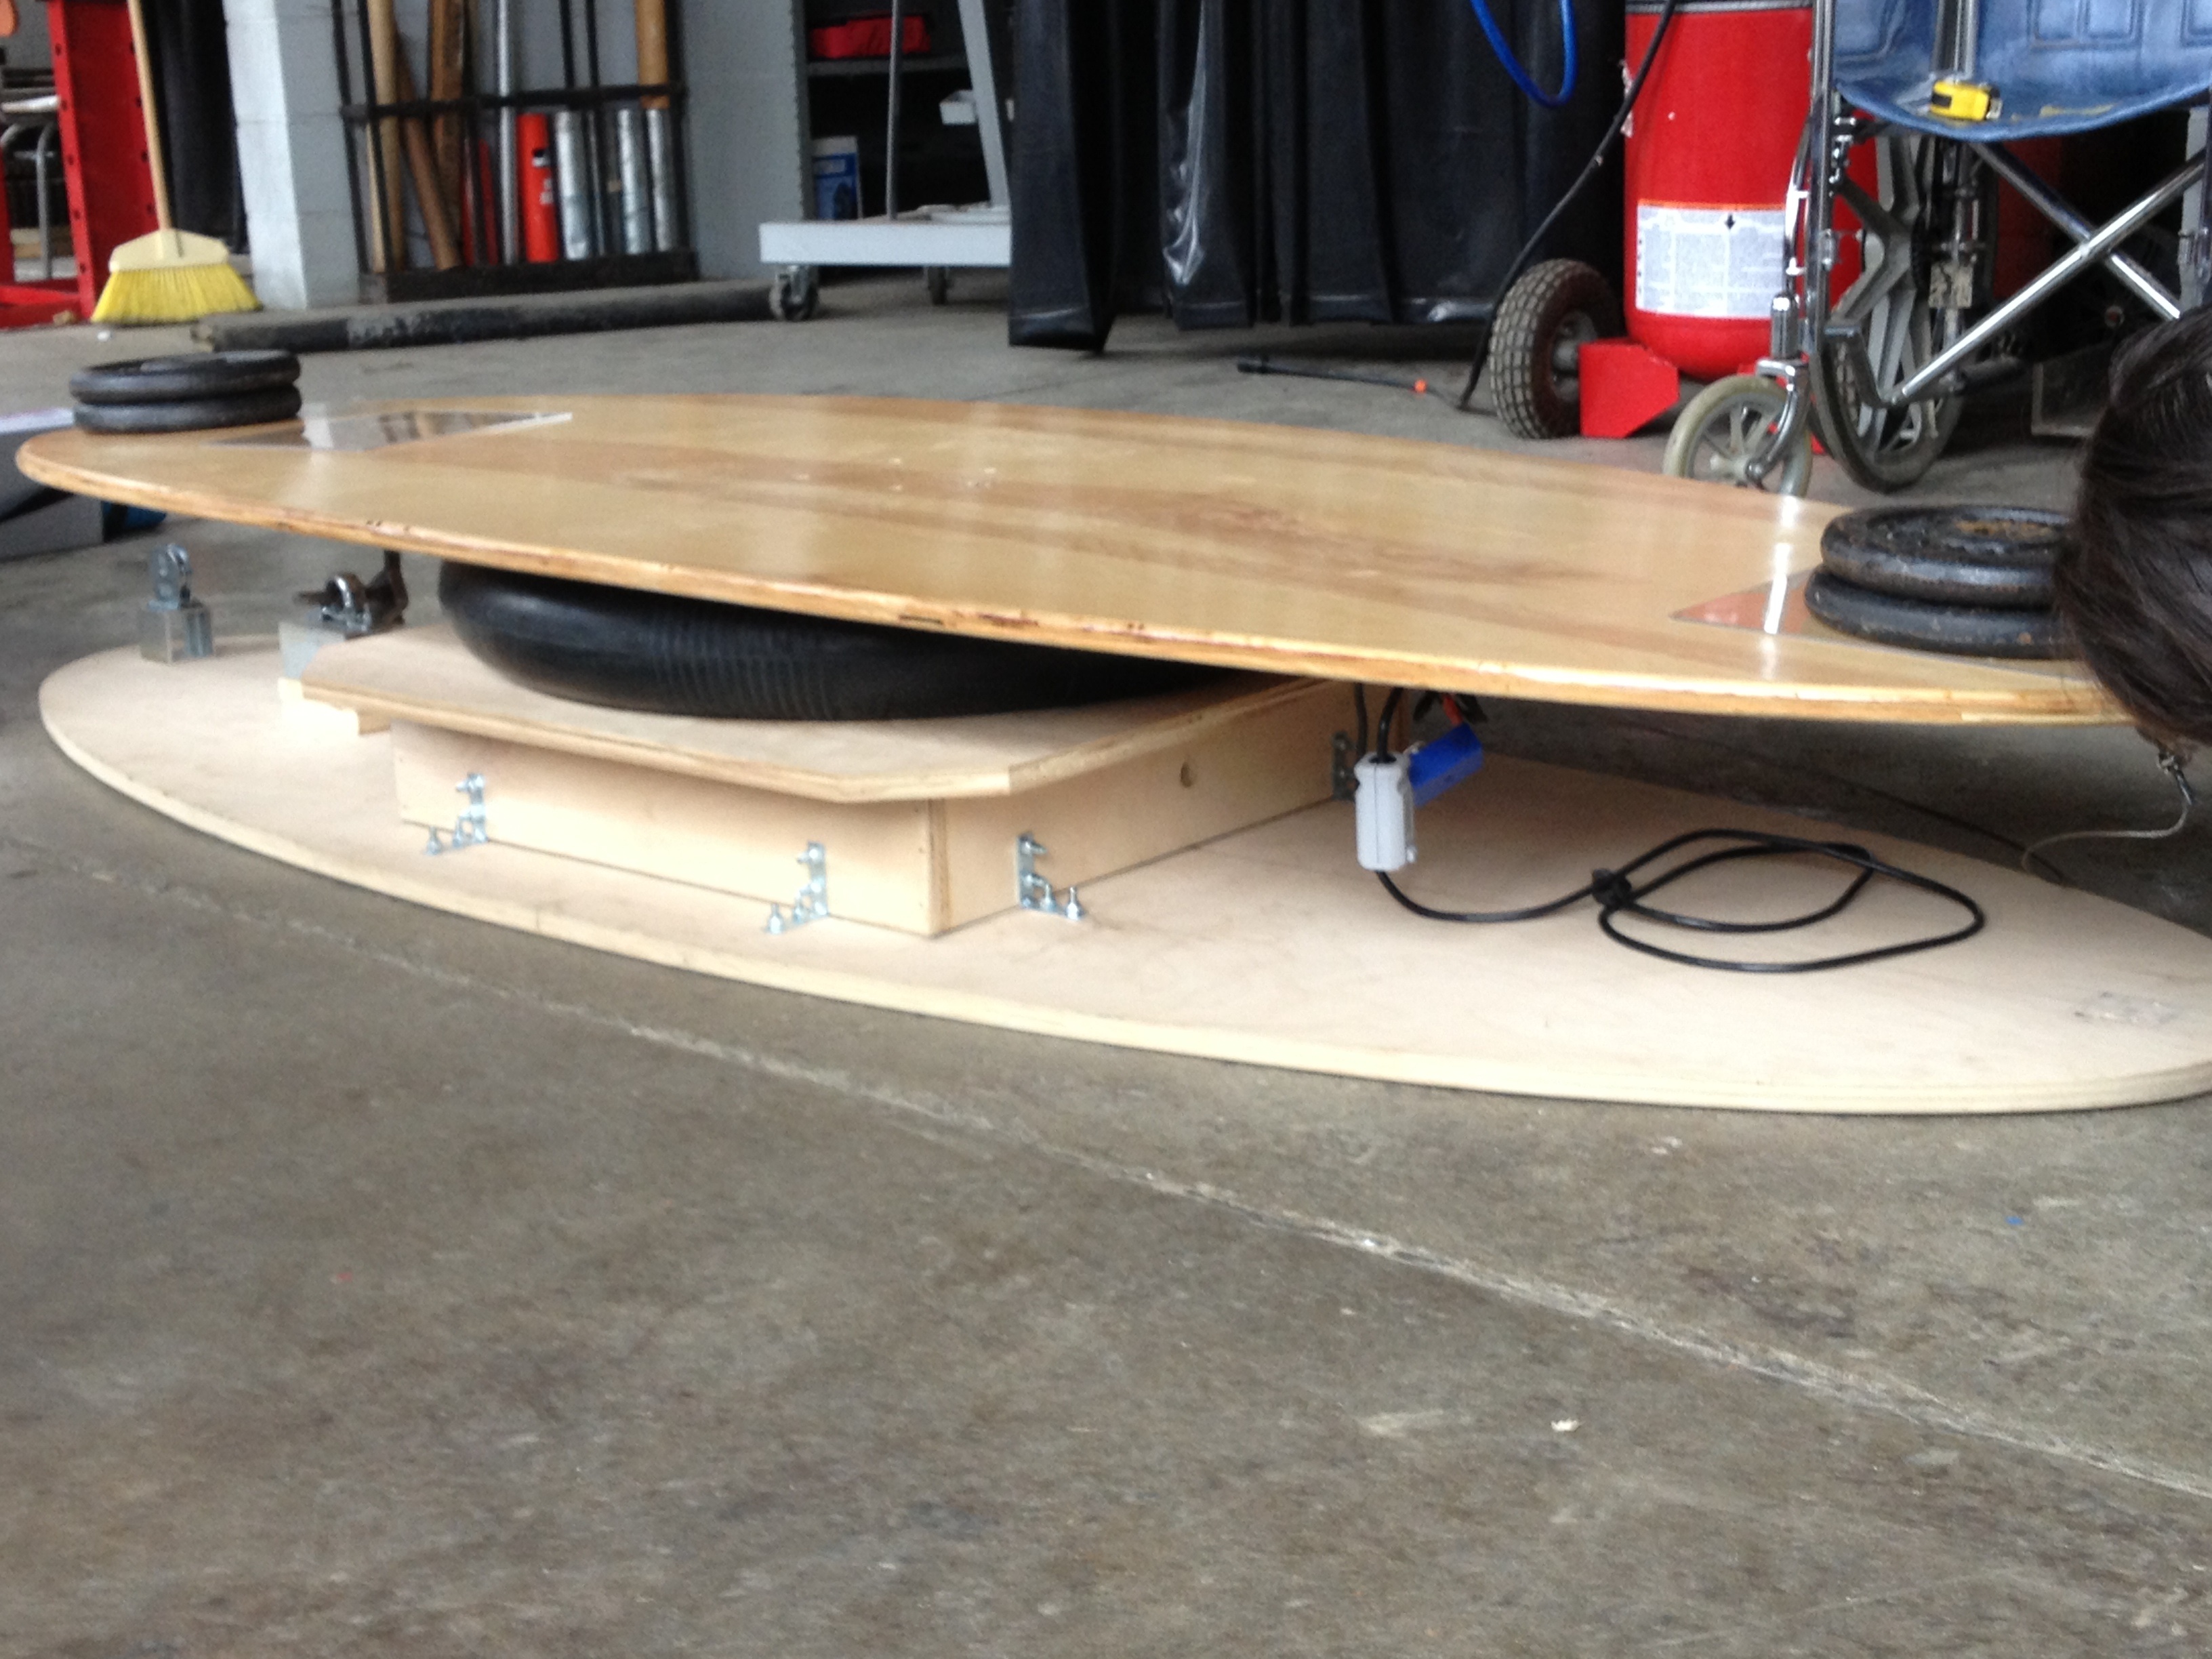
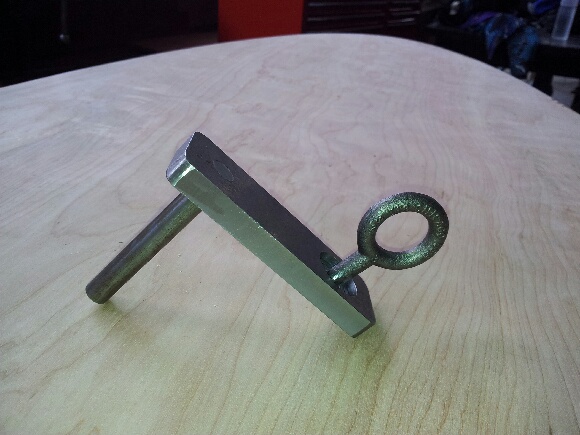
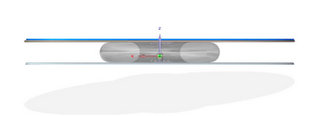
Testing Video Link: Standup Paddleboard Mockup Test 1Our final “Brainstorming Design 1” needed to be changed for our mockup. The most notable change was eliminating the cables and setting the main resting point of the board on an inner tube. Inside the inner tube there is a U-Joint to keep the board mounted on the base platform. This U-Joint replaced our ball joint from our brainstorming design.
We would like to thank our sponsors and supporters!
 Fabreeka International has been a leader in the field of shock and vibration control since 1936. They provide vibration isolation and shock control solutions.

Hammond Lumber Company is one of the largest independent building material suppliers in New England. For over half-a-century, the Hammond name has meant quality forest products from Maine.